MSI Z97 MPower Max AC Review: Overclocking for $260
by Ian Cutress on May 20, 2014 12:00 AM EST- Posted in
- Motherboards
- MSI
- Z97
MSI Z97 MPower Max AC BIOS
The basic layout of MSI’s BIOS has been constant over several chipsets with each generation adding in a few new features to improve the user experience. Normally the MSI motherboards I review are in the channel segment, and as such are blue and black, however the yellow and black for the OC series seems more pleasing to the eye (to me, anyway). The basic layout as in previous generations is a top bar featuring the Motherboard name, BIOS version, CPU installed, CPU frequency, DRAM frequency, DRAM size and CPU temperatures. The only real data missing here is voltages and fan speeds, which MSI has moved to a different part of the BIOS. To the left and the right are the main tabs which produce the list of options in the central screen.
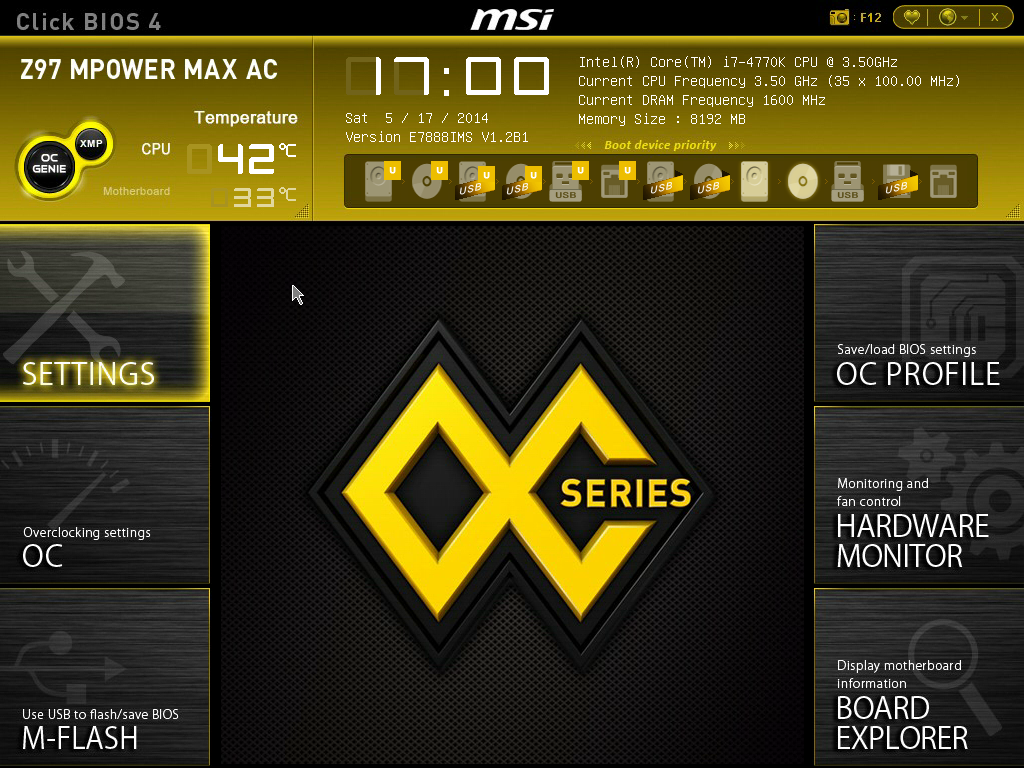
At the top left, along with the OC Genie, is an XMP button. In the past I had noted that enabling XMP on MSI motherboards, especially for users with no BIOS experience, was a minefield due to the (then) disorganized way of accessing memory settings. MSI’s solution is to move it out to this button on the top right, which simplifies things nicely.
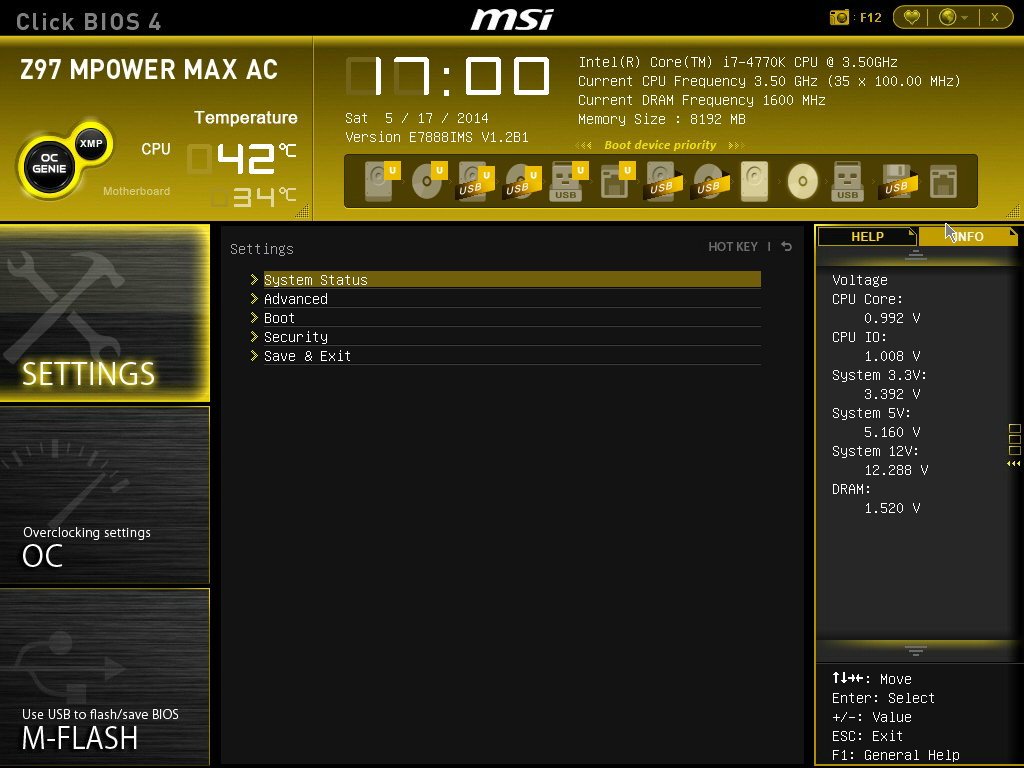
The screen above shows the settings menu, which has not changed, but the information to the right of the screen has. Users have two options here, ‘Help’ or ‘Info’ – the help screen is shown in the other screenshots down below, but I wanted to draw attention to the info screen which gives the system voltages. I believe MSI has decided to put them here rather than on the top panel to save space but also because of the fact that voltages in the BIOS do not change until the system is restarted. I perhaps would still like the CPU voltage to be placed up the top with the other information, just for completeness and an instant reference.
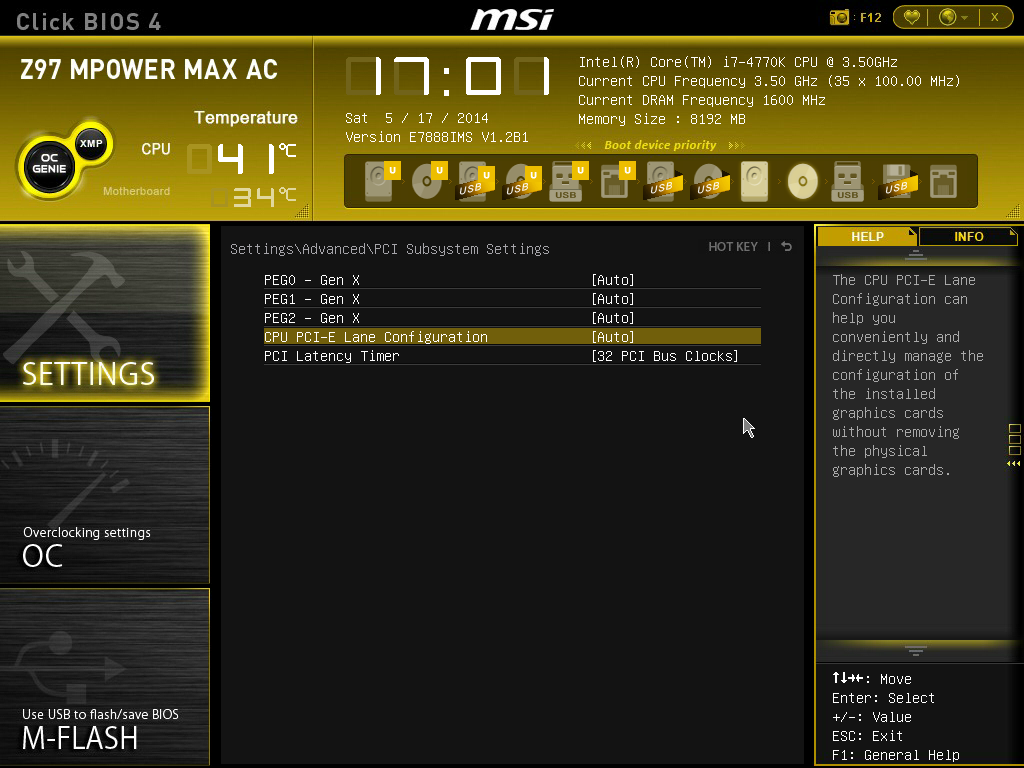
We praised MSI’s FM2 BIOS on the A88XM-E35 as MSI had decided to finally put the path of the options into each page, and here we see the ‘Settings -> Advanced -> PCI Subsystem Settings’ listed above, telling us where in the BIOS we are. I am still glad this is here, because due to MSI’s layout (compared to the other three major motherboard manufacturers), it is not always obvious exactly which menu we are in. Now we can be sure.
I brought up the PCI Subsystem screen above because of the options. Alongside the options to adjust the PCIe version (Gen 1, Gen 2 or Gen 3) is an option for the CPU PCIe lane configuration. Selecting it gives the following:
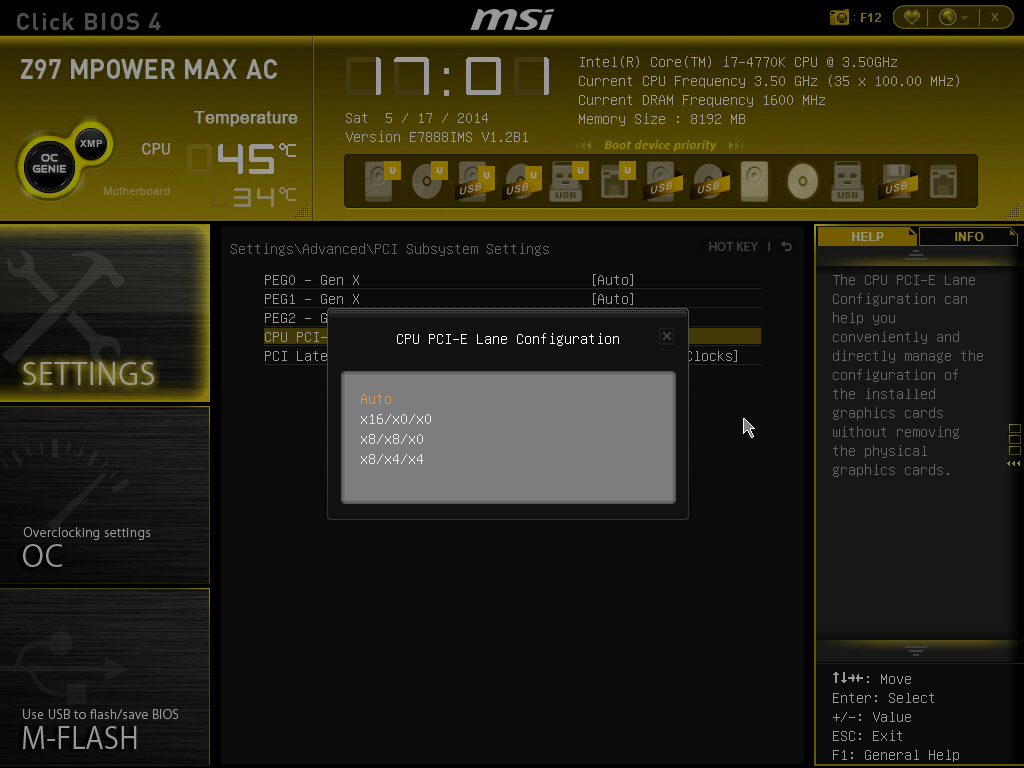
This setting allows users to disable certain PCIe slots by selecting whether they want one-way, two-way or three-way GPU/PCIe devices installed. In other overclocking motherboards we sometimes see on-board switches to disable PCIe slots, but now MSI has moved that option into the BIOS, and the way it is presented as a lane allocation is a plus in terms of user experience.
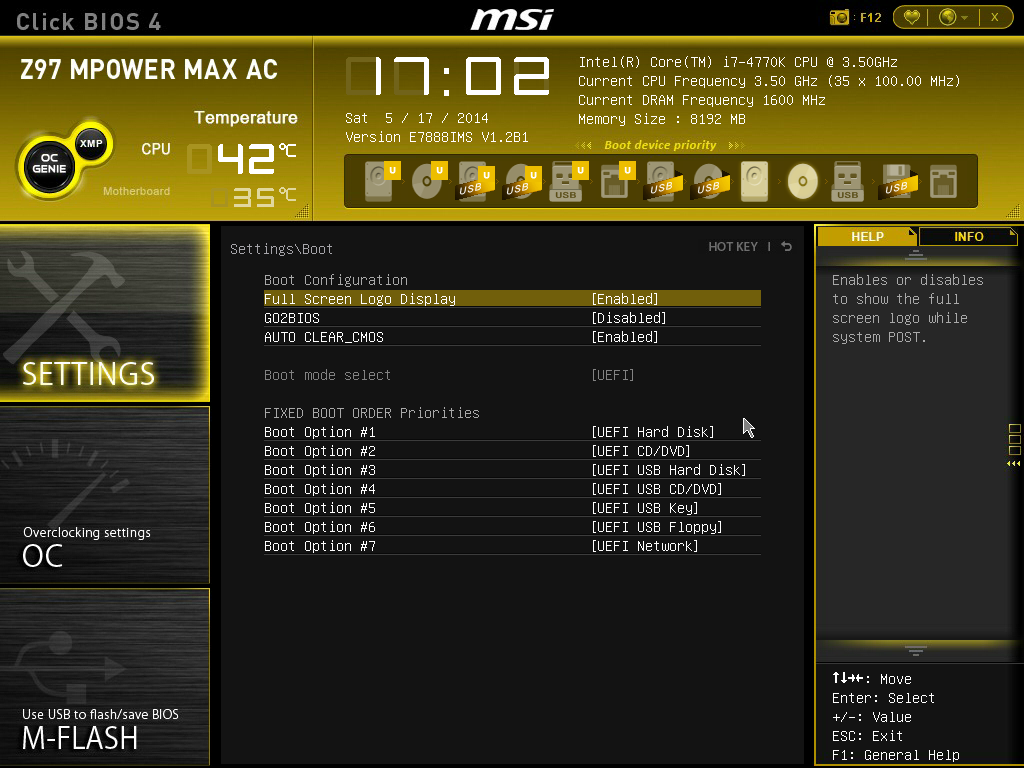
Most of the Settings tab in the BIOS is similar to previous reviews, but the Boot option is slightly different. Aside from the options we can select, two of the important ones are listed here: GO2BIOS and AUTO CLEAR_CMOS. The GO2BIOS option enables the button on the motherboard, and the second option enables/disables the button on the rear panel. For users who might have small animals/children that have access to the rear of the machine, they might not want that ClearCMOS button pushed for any reason. In that respect, they can disable the rear button here.
Now onto one of the things that I am most proud of MSI for: after several generations of bemoaning the overclock menu for being a hodge-podge of options with no discernable order, it finally has order!
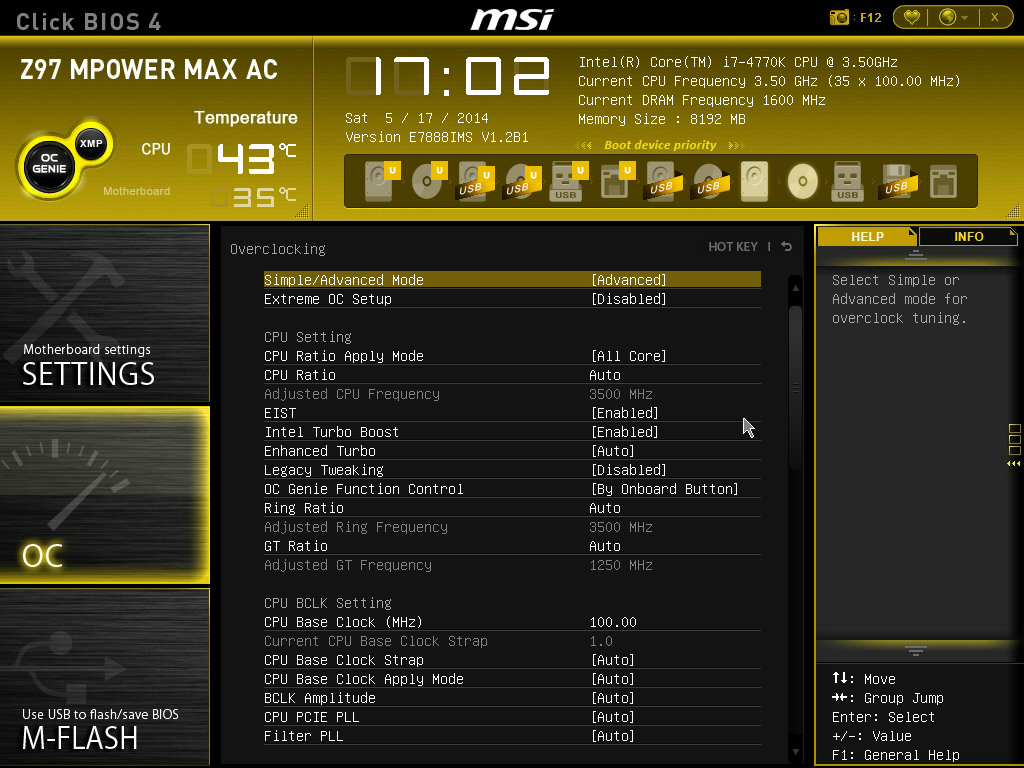
The layout starts with some important options (Simple/Advanced, ExtremeOC), followed by CPU settings, BCLK settings, DRAM settings, Voltage Settings and the ‘Other’ Settings. It could be construed that MSI could hide each of these options behind another menu for each (i.e. selecting ‘CPU Setting’ gives the CPU Setting options), but it all comes down to user preference. Some manufacturers have told me that users prefer long lists of options, whereas others prefer succinct menus.
One interesting feature that I did not expect from MSI is actually the top one in the OC menu. The Simple/Advanced option helps remove/add options that might add an extra element of confusion/expertise to overclocking. Switching over to the Simple option cuts out some of the more harder-to-understand options:
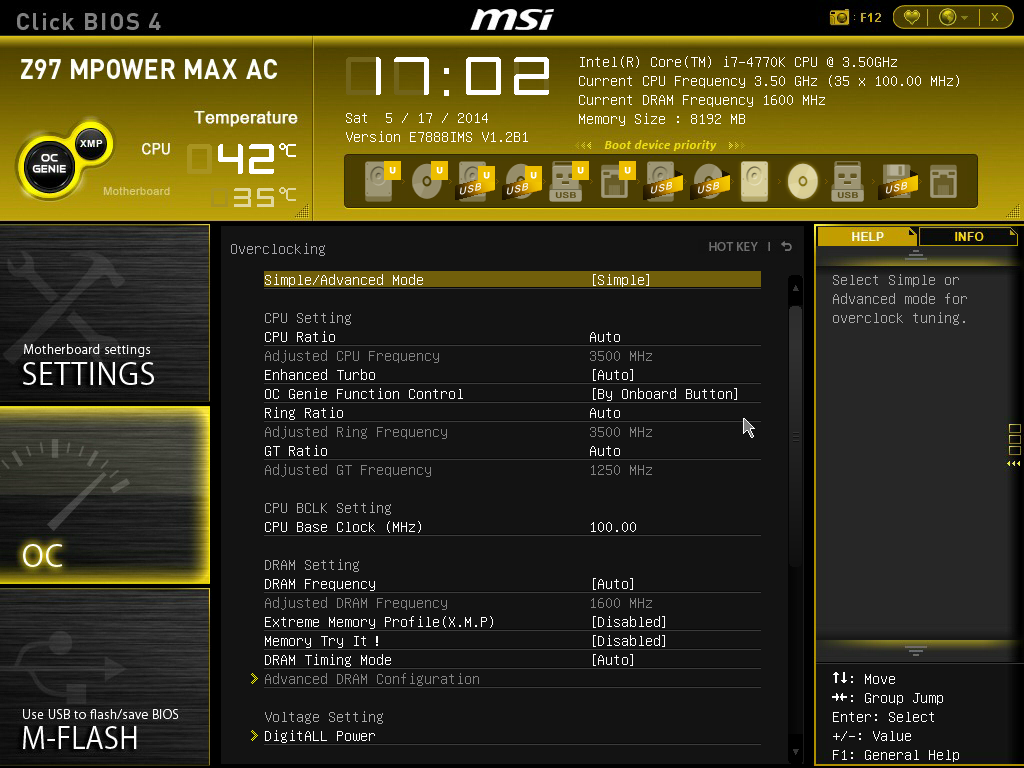
Here we are reduced down to the simple overclock options, such as CPU ratios, Base Clock and DRAM frequency. I like this touch, although there is an issue as to what to set the default option for Simple/Advanced mode as. For extreme overclockers, Advanced should be the default setting, however for almost everyone else, Simple is sufficient. If we start on ‘Advanced’ first, most users will not see the ‘Simple’ mode because all the options are there anyway. Personally, I would put it in ‘Simple’ first.
Another new feature in the BIOS is the ‘Memory Try It!’ option. This gives the user of an option for CAS Latency 9, 10, 11 or 12, in both performance or compatibility mode. Thus for users overclocking memory, say a kit of 11-13-13, it could be set at ‘CL11 Performance’ to help tighten up some of the more complex timings, or ‘CL10 Compatibility’ to see if the kit will accept a CAS Latency of 10 at that frequency.
With the help section on the right hand side, we at least get a set of words pertaining to the option selected. The next stage would be the help section to also include the min/max of the voltage range selected, as well as the granularity. For example:
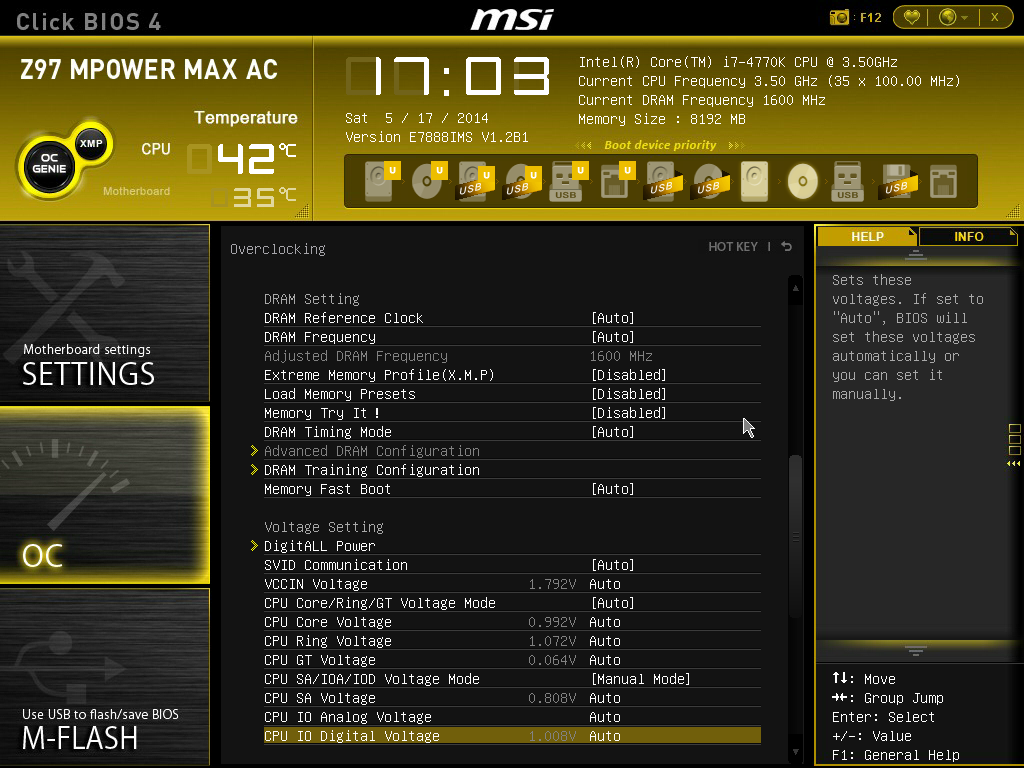
Highlighting this option says almost nothing about the capabilities of the voltage, or how it might pertain to overclocking or stability. Users have to know the intricacies of each option on the fundamental level to understand what difference adjusting a voltage would make. This would perhaps be why extreme overclockers pour hours into studying specification sheets, or hours into trying settings.
Options such as DRAM timing, DRAM Training and Digital Power have not changed from previous generations. The last option is a shame because a lot of the digital power options do not make sense:
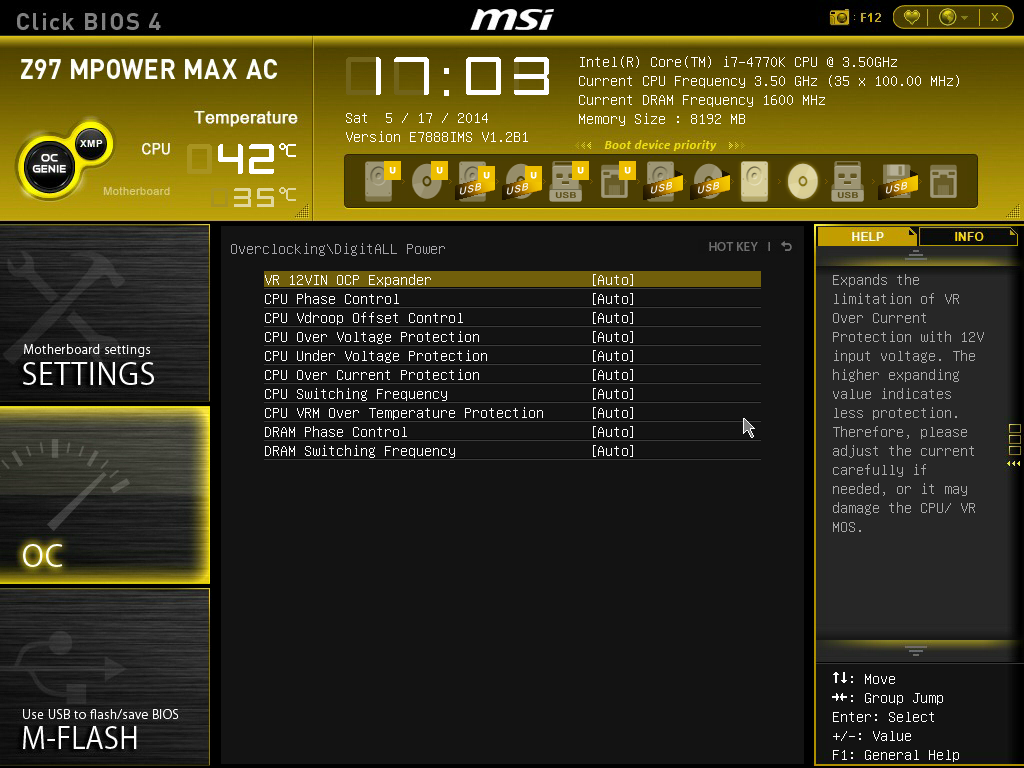
Overclockers might often user the CPU Load Line Calibration (e.g. VDroop Control) in order to maintain voltages under heavy loading. The option here in the MSI BIOS is obfuscated because the VDroop Offset is given as either ‘Auto, +0%, +12.5% to +100%’, with no indication if +0% is needed or +100% is needed. Other motherboard manufacturers have implemented a graph to show the effect of each setting, which I think MSI need to do here to get this option used and help 24/7 overclocks.
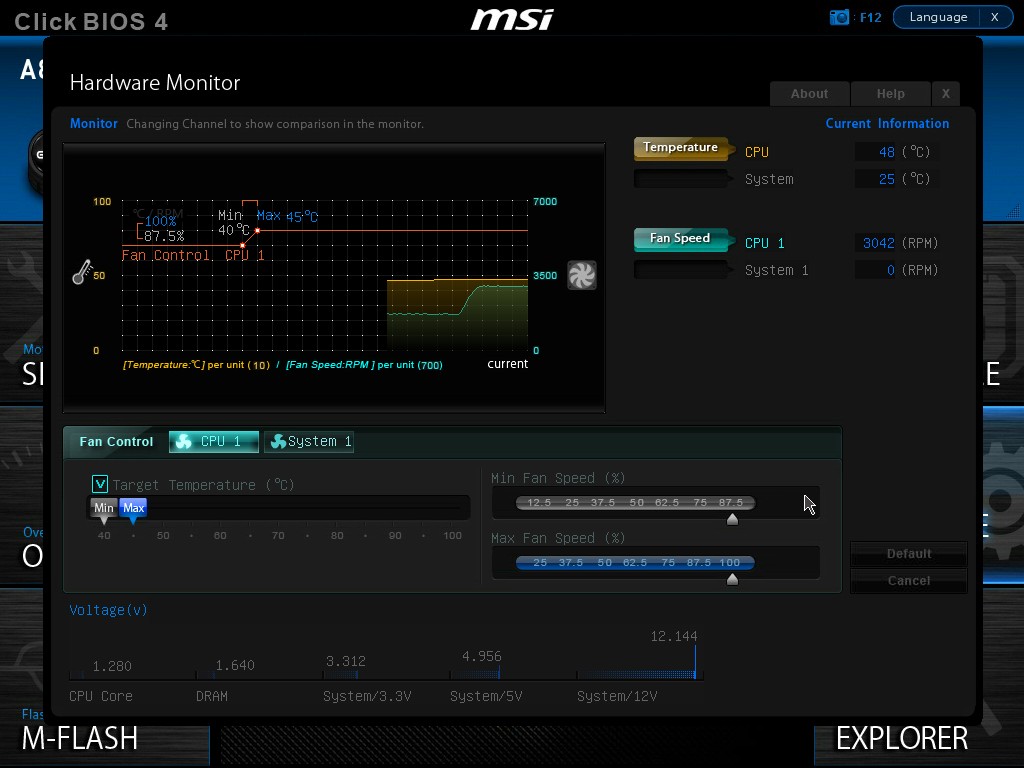
The next feature I want to get to grips with is the Hardware Monitor:
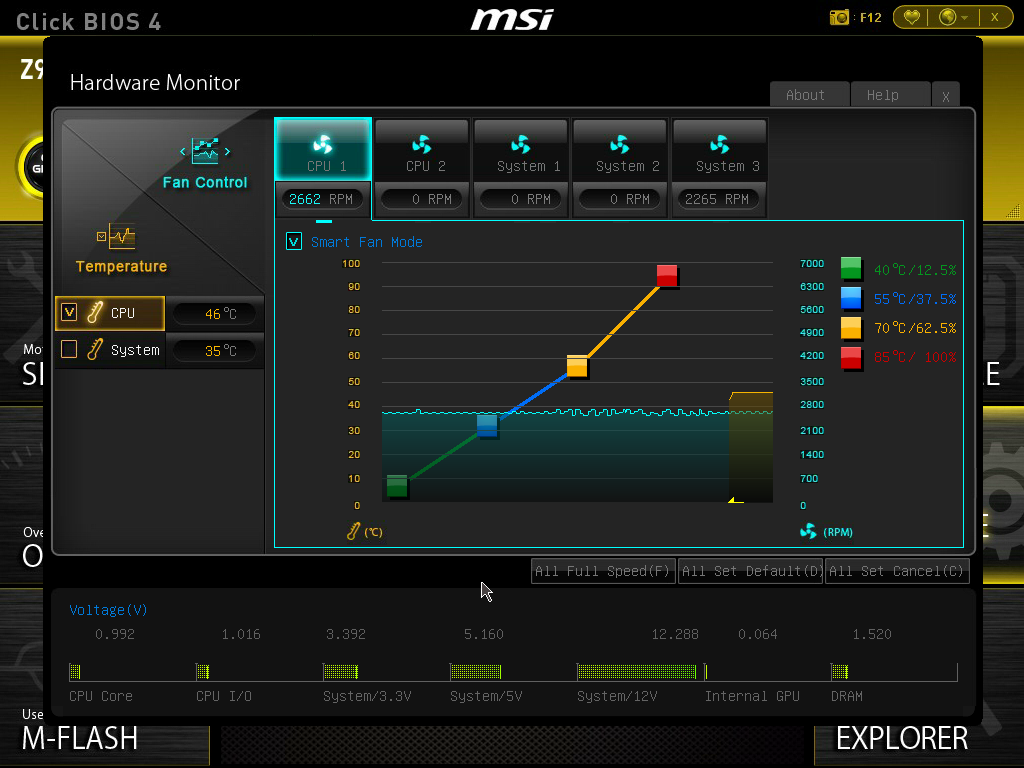
Back with Z87 MSI introduced their first version of the fan selection tool which showed a graph with two points of a gradient. Each of the gradient points was adjusted by sliders next to the graph but not on the graph. My main criticism of this, aside from only having two gradient points, was that the graph itself needs to be interactive. It was good having a graph, giving direct feedback to the user in real time, but the user needed to interact with the graph directly. The new Hardware Monitor is the result of suggestions like this.
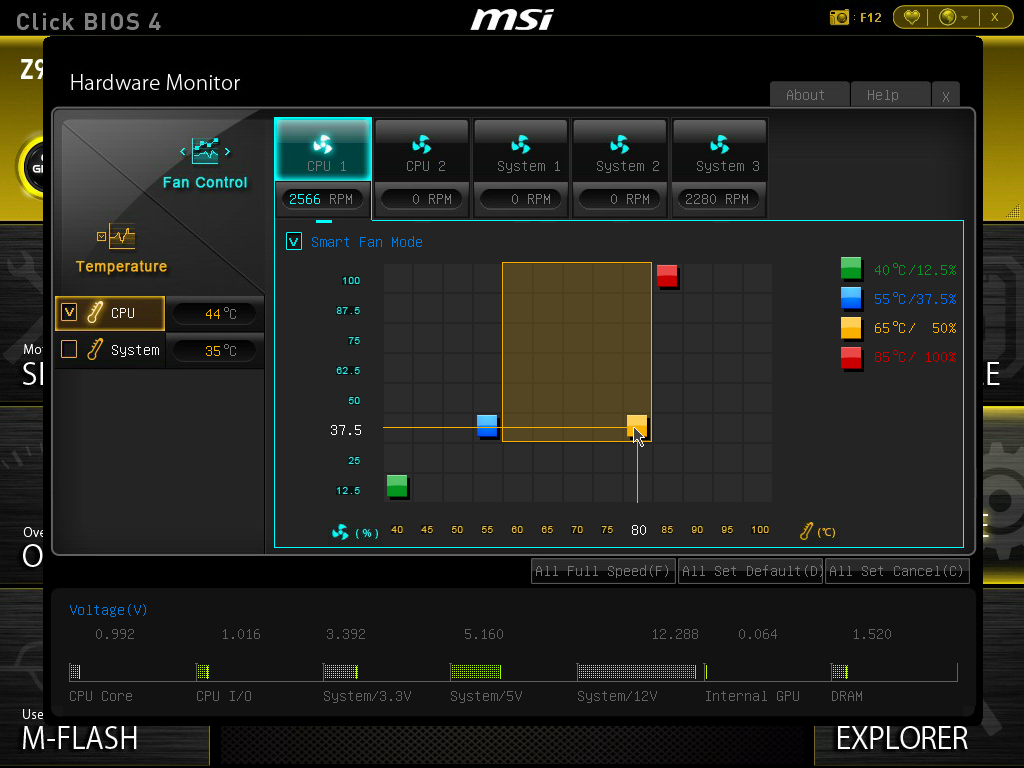
Aside from the increase to four gradient points, each of the points is selectable directly on the graph. The color coordination helps the user to read off the values on the right hand side, and also when selecting to move the points the BIOS shows the valid selections:
One could argue about having a negative gradient on a fan (MSI does not seem to allow it), but I like the implementation and style of the fan gradient selection. This is a big step up for MSI in bringing readability and user experience to the BIOS from previous generations.
There are a couple of issues which could be improved upon. Firstly is selecting an option such as Full Speed:

MSI should adjust the graph gradient to show full speed when full speed is selected, as this gives immediate feedback that the option has been selected. MSI could also implement that the non-full speed values are kept in memory if full-speed is ever deselected.
The second issue is one that I have mentioned for a couple of years now, relating fan power to fan RPM. It is a common fallacy that fan power is directly proportional to fan RPM. Most fans have a dead-zone <20% power where the fan speed does not change, and above 20% power, more power is more fan speed. ASUS (in BIOS and software), GIGABYTE (in software) and ASRock (in software) are now getting this issue and are implementing the testing routines to do so. Getting them to then adjust the graph to show RPM vs. temperature rather than power vs. temperature is a little harder (it requires some interpolation mathematics which is really easy to do), but this needs to be the next stage in MSI’s fan control development for sure.
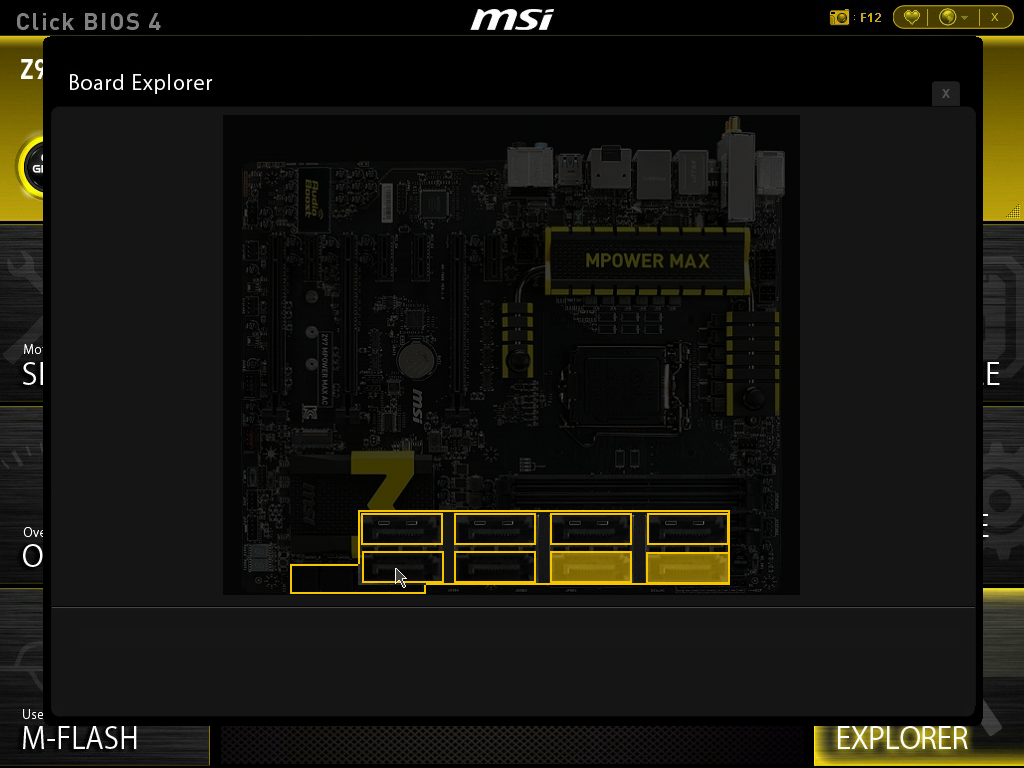
MSI still retains the Board Explorer feature, this time it expands into showing which headers are populated, for example the fan headers now show the RPM with a short polling time:
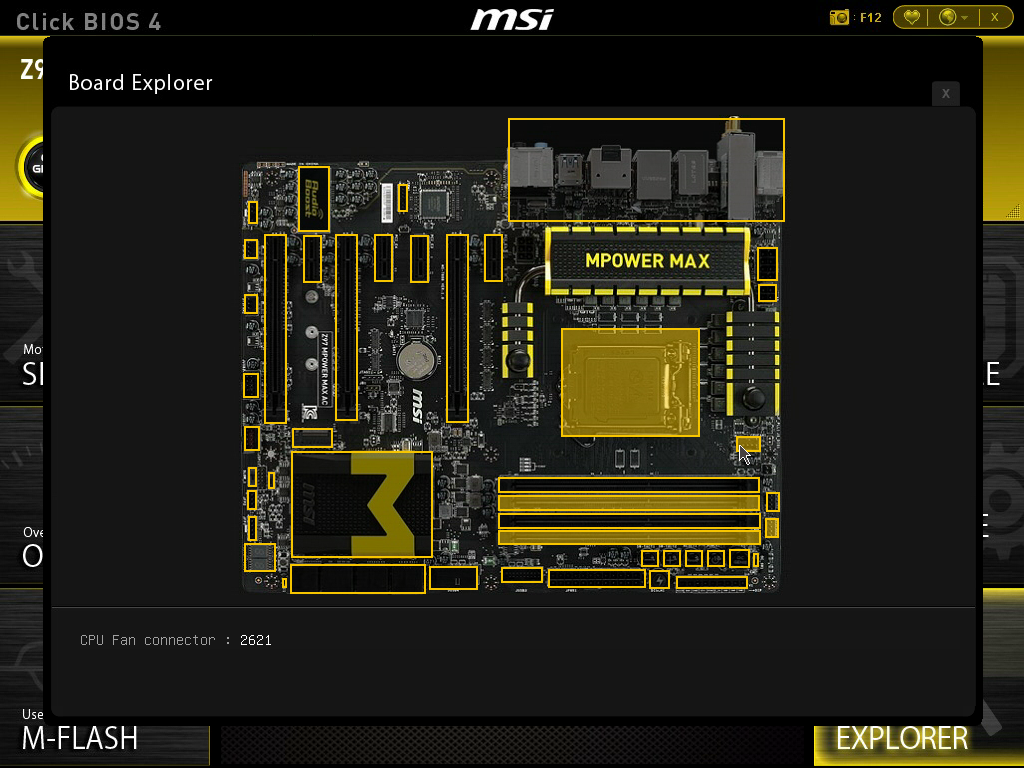
The BIOS is still a little in development, because moving the mouse over the SATA ports to see its data caused an element of slowdown that was even present when the mouse was in motion.
Another new feature to the BIOS is the Favorites menu. This echoes other manufacturers’ efforts in developing Favorites menus, however the MSI implementation was somewhat hidden from view, selectable only by clicking the heart symbol at the top of the BIOS. I would suggest that MSI move it to the Settings menu, which might make it used more.
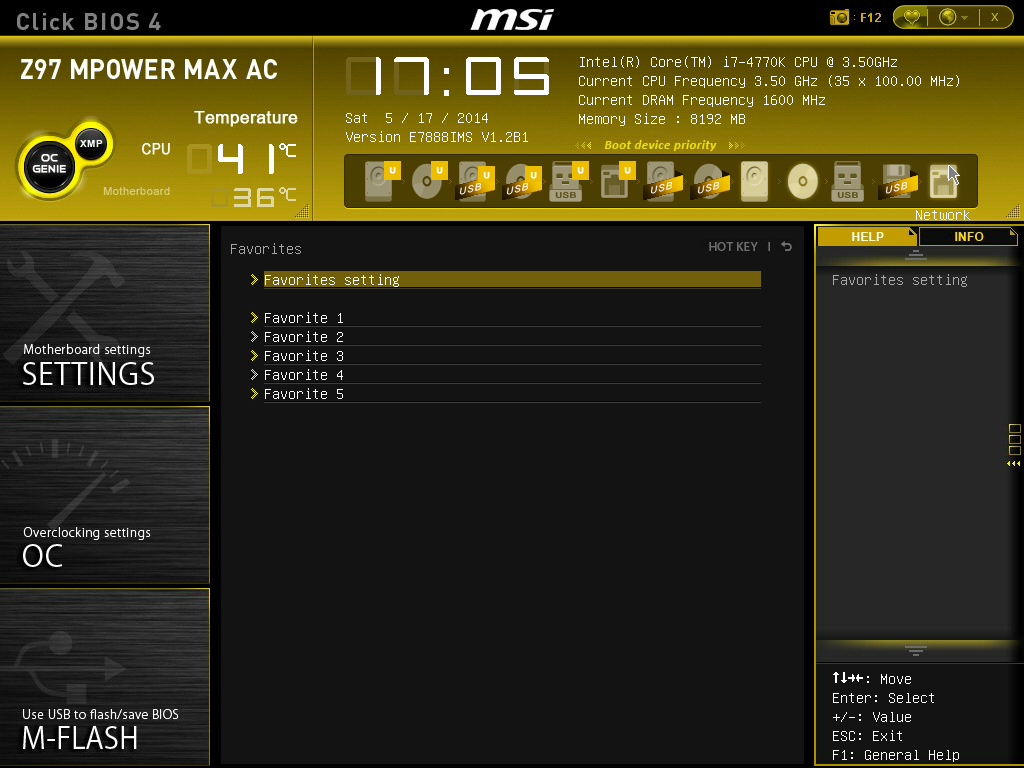
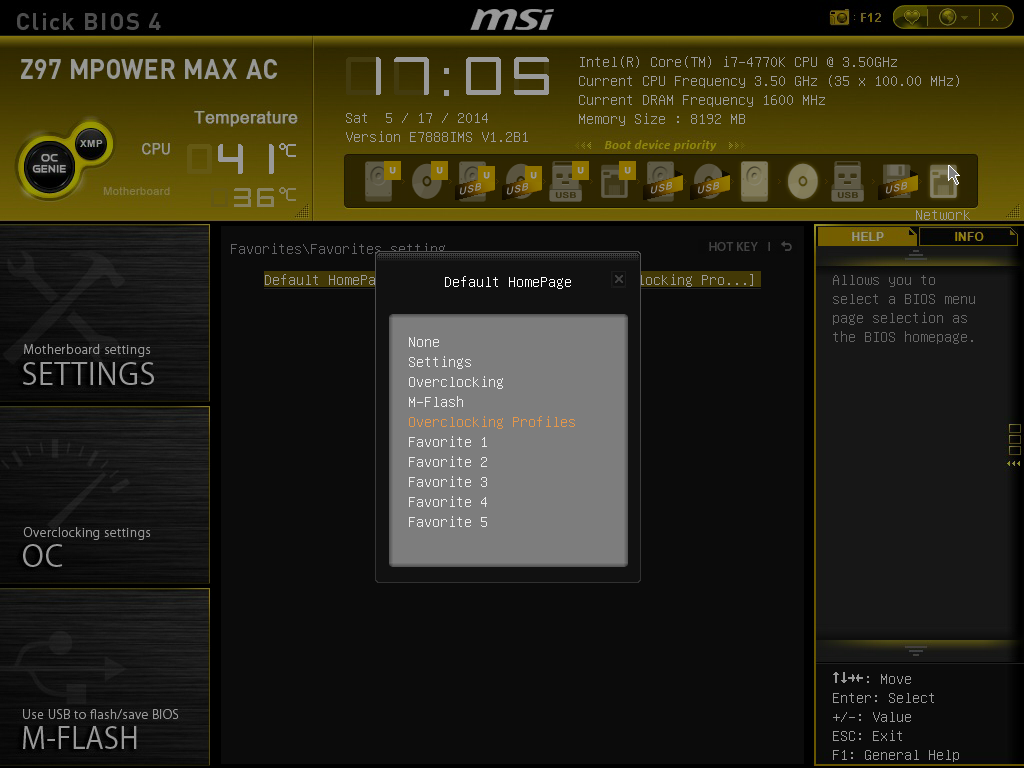
The Settings Menu allows users to select which screen they want to start on when entering the BIOS:
In order to add an option to the My Favorites menu, users need to right click an option in the main BIOS. We can then build up a list of options in each of the Favorites:
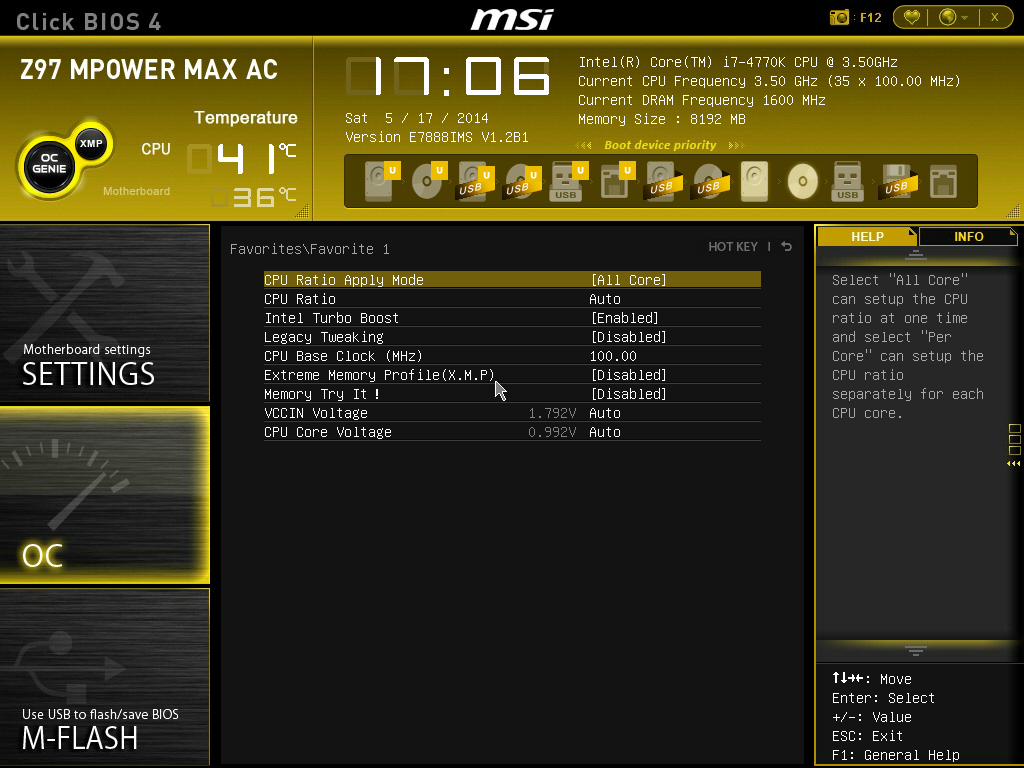
It might actually be worth MSI using their in house overclockers to create their own Favorite menus, and letting them be selectable from the selection of other menus. Although with the fact that MSI has now ordered the overclocking menu such that the options have some form of order, we might not see the Favorites menu being used that often because the BIOS is now easier to follow.

The final new feature in MSI’s BIOS is one that we find in other BIOSes – the Change Settings info (known as Last Modified with ASUS). This lets the users know what has changed since the last BIOS, although in order to select this menu the user has to select Save and Quit then navigate to ‘Change Settings Info’. It might seem like a direct copy of ASUS, but having this data listed as soon as I hit ‘Save and Exit’ really is the best idea.


19 Comments
View All Comments
Nintendo Maniac 64 - Tuesday, May 20, 2014 - link
Can I just say that it still feels weird to see AnandTech benching Dolphin? I mean, I know that I was the guy that sent the email about the benchmark, but emulation just seemed like one of those more "hush hush" things you just didn't talk much about...Also, you've been misspelling "boost" as "post" in every single article with the Dolphin benchmark - "provided a significant post to emulator performance". You may want to fix your typo from wherever you're copy & pasting that text from, not just fixing it in the article.
Ian Cutress - Tuesday, May 20, 2014 - link
Hi NM64, yeah that typo is a carry over from my custom review template. I've fixed in the original now. It's good to have an emulation in general, as not all emulation is perhaps licensed games.silenceisgolden - Tuesday, May 20, 2014 - link
Thank goodness MSI is listening to feedback about connectivity. I wouldn't want a thing changed about this motherboard, and if I wasn't waiting for the new -E line I would upgrade to this. It really is refreshing to see a brand not get caught in the SATA Express hype, cater to old PCI, and realize that USB3 is here in full.Galatian - Tuesday, May 20, 2014 - link
I beg to disagree but to each their own. Personally I feel somewhat letdown by Z97. We have M.2 and SATA Express ports but they are already outdated because they don't use 4 x PCIe 2.0 lanes as they could. Instead they opt out for multiple SATA and USB ports. Realistically: How many of those ports does one need? Me as a gamer I have one SSD in my case and a keyboard, mouse and xbox controller receiver connected to USB. That's all.Morawka - Tuesday, May 20, 2014 - link
the problem is not enough lanes in haswell and Z87/Z97. 2X SLI is already running at 8X 8X. Besides, what they are currently using on this board is enough to saturate what the M.2 SSD's are capable of.reininop - Tuesday, May 20, 2014 - link
Well, from the perspective of another gamer, that also uses his system as a all-purpose system as well, I have a keyboard, mouse, printer, xbox wireless receiver, wireless adapter, headphones, charger for my phone, charger for headphones, extension to monitor usb ports, and maybe one other thing. I'm sure there are others with even more needs.Morawka - Tuesday, May 20, 2014 - link
Metro Last Light Inspired Box?theduckofdeath - Wednesday, May 21, 2014 - link
I was thinking the same :3r3loaded - Tuesday, May 20, 2014 - link
Is Asus coming out with a Maximus VII Formula? It'd be great to compare that with this board as MSI have a very strong competitor here. Either way, it bodes well for the Haswell-E equivalent of this board.Galatian - Tuesday, May 20, 2014 - link
ASUS hasn't introduce their entire line-up for Z97 yet. They are probably waiting for the Devil Canyon chips.