GIGABYTE G1.Sniper Z87 Review
by Ian Cutress on February 24, 2014 2:00 PM EST- Posted in
- Motherboards
- Intel
- Gigabyte
GIGABYTE G1.Sniper Z87 BIOS
When I first reviewed the GIGABYTE Z87 BIOS, we had some issues – it was still in development, and it had a relative dislike of my 2560x1440 monitors. Fast forward several months and while the screenshot function is slightly off, we at least get full HD mode to play around with. This is GIGABYTE’s high definition mode for the BIOS, aimed at displaying more information and giving the user a better experience. We are still limited to a 30 Hz refresh rate in the BIOS, something which we would enjoy seeing upgraded in the future.

In HD mode, GIGABYTE provides the user with the most salient information – we have the name of the motherboard in use, the CPU installed, CPU information (speed/voltage/temperature), DRAM information (frequency/voltage/sub-timings), system information (temperatures/fan speeds/voltages) and even value against time graphs at the top for voltage, fan speed and temperature. This is persistent on every screen in HD mode - users can switch off HD mode and remove the banner, or switch to classic mode, indicating that the GIGABYTE BIOS has subsequent layers. The BIOS chip is still a 64 Mbit IC, and thus GIGABYTE has been able to fit the added aesthetics without needing to move up a BIOS chip size (and adding cost).
The first screen when entering the BIOS is the Home menu, showing the initial performance options. There is no easy mode, we are straight into the advanced mode, and this menu shows mainly CPU options relating to base clock, multiplier and voltages. DRAM multipliers and voltages are adjustable here as well.

In the Standard menu, features like SATA mode and Display Output selection are listed. Next along the tabs are a series of customizable menus, allowing users to piece together the BIOS options that most suit them. For example, when performing a CPU overclock, I might require the CPU Multiplier, the CPU Voltage and the CPU temperature in one screen – that is the purpose here. Elsewhere in the BIOS the user can select the system to access a specific menu on booting, rather than requiring navigation.
The Performance tab along the top lists GIGABYTE’s preferred option arrangement under five tabs: Frequency, Memory, Voltage, PC Health and Miscellaneous. These option layouts are similar to GIGABYTE’s classic mode, and also reminiscent of advanced mode in Z77.

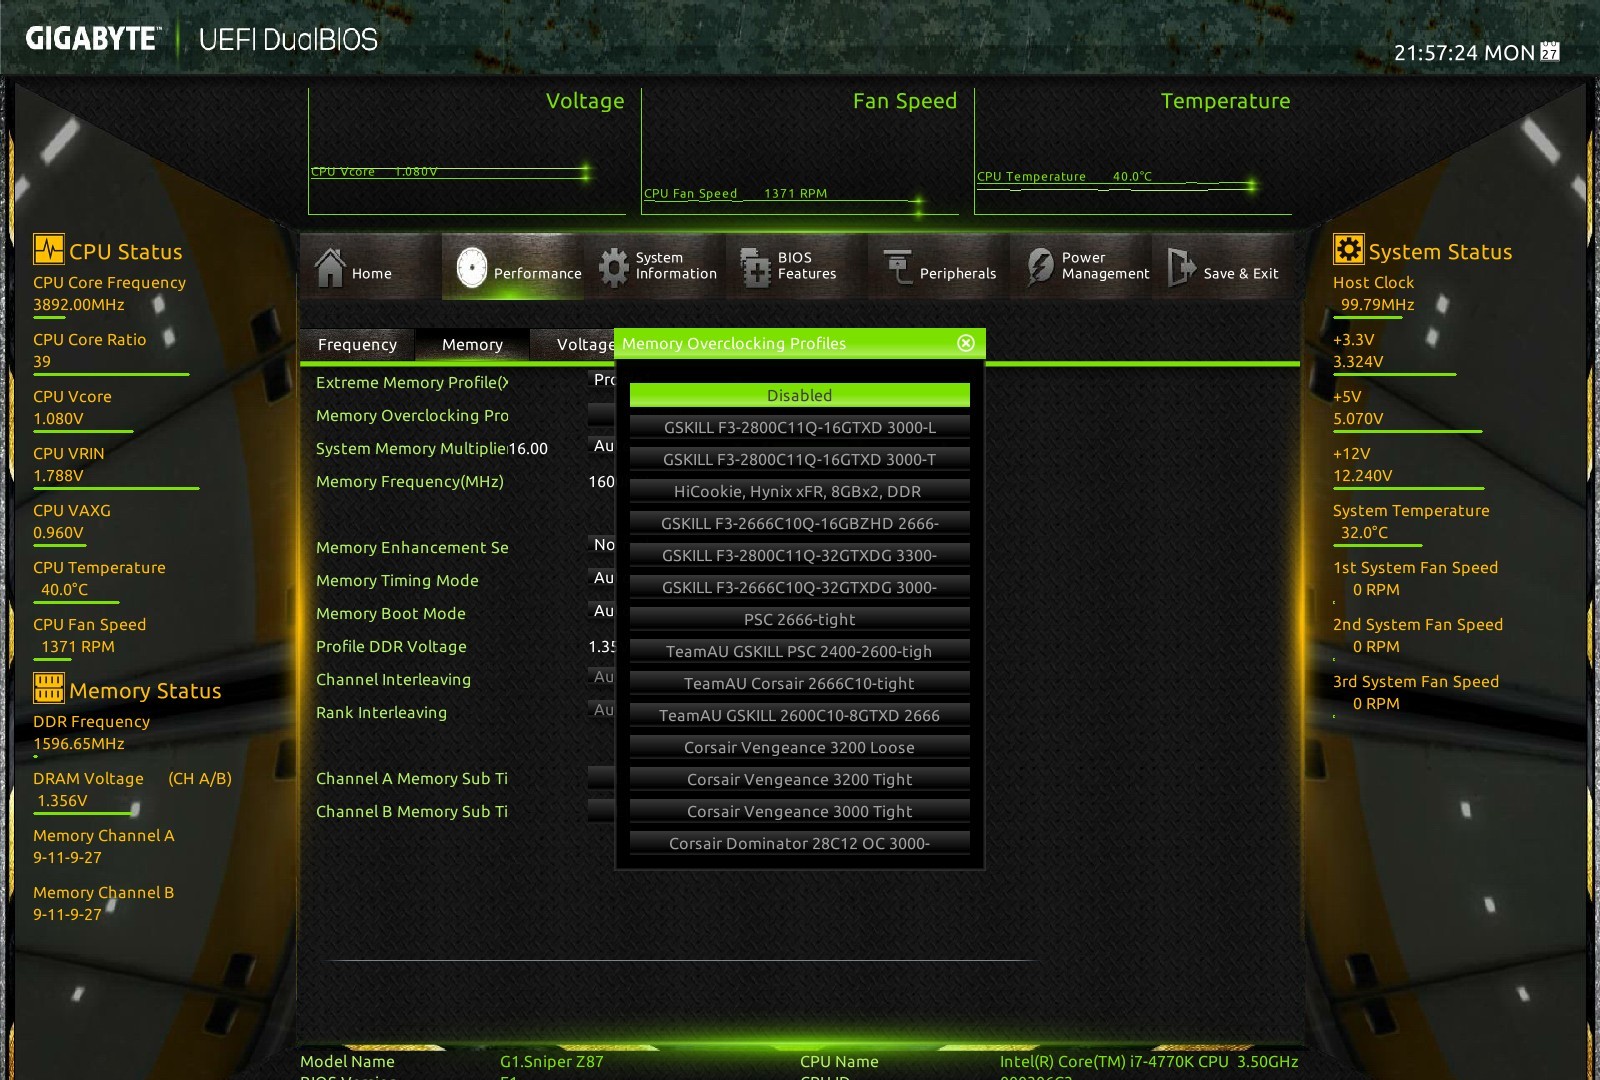
To help extreme overclockers with memory settings, GIGABYTE’s in-house overclocker HiCookie and overclockers from TeamAU have helped prepare a number of pre-overclocked memory profiles. Only users of extreme performance memory kits need apply:
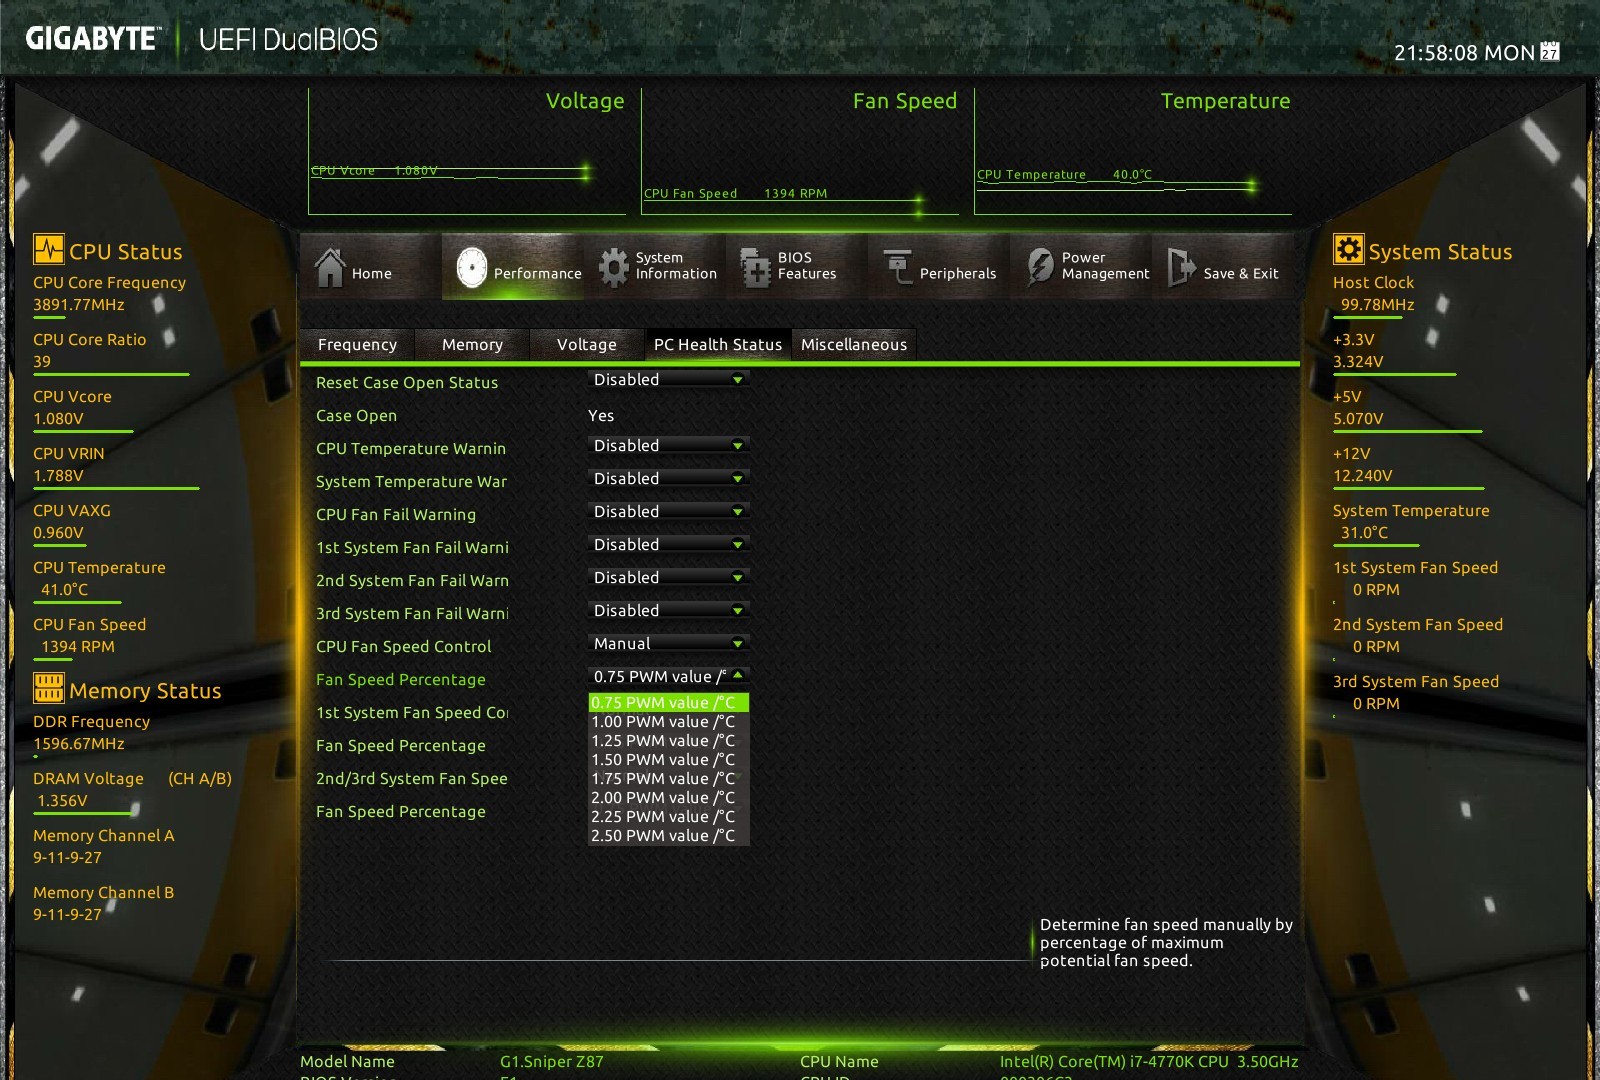
For fan controls in the BIOS, users need to head to Performance -> PC Health Status. As the motherboard has one CPU fan and four SYS fans, these are controllable in three groups: CPU, 1st SYS, 2nd/3rd SYS, and users have the option of increasing and decreasing the gradient. This is listed as ‘PWM/°C’, which translates as ‘add X power to the fan every degree celsius’, where the power is a number between 0 and 255. This hides the underlying fact that fans are not directly proportional in the fan speed depending on the power applied, however GIGABYTE address this in their OS software.
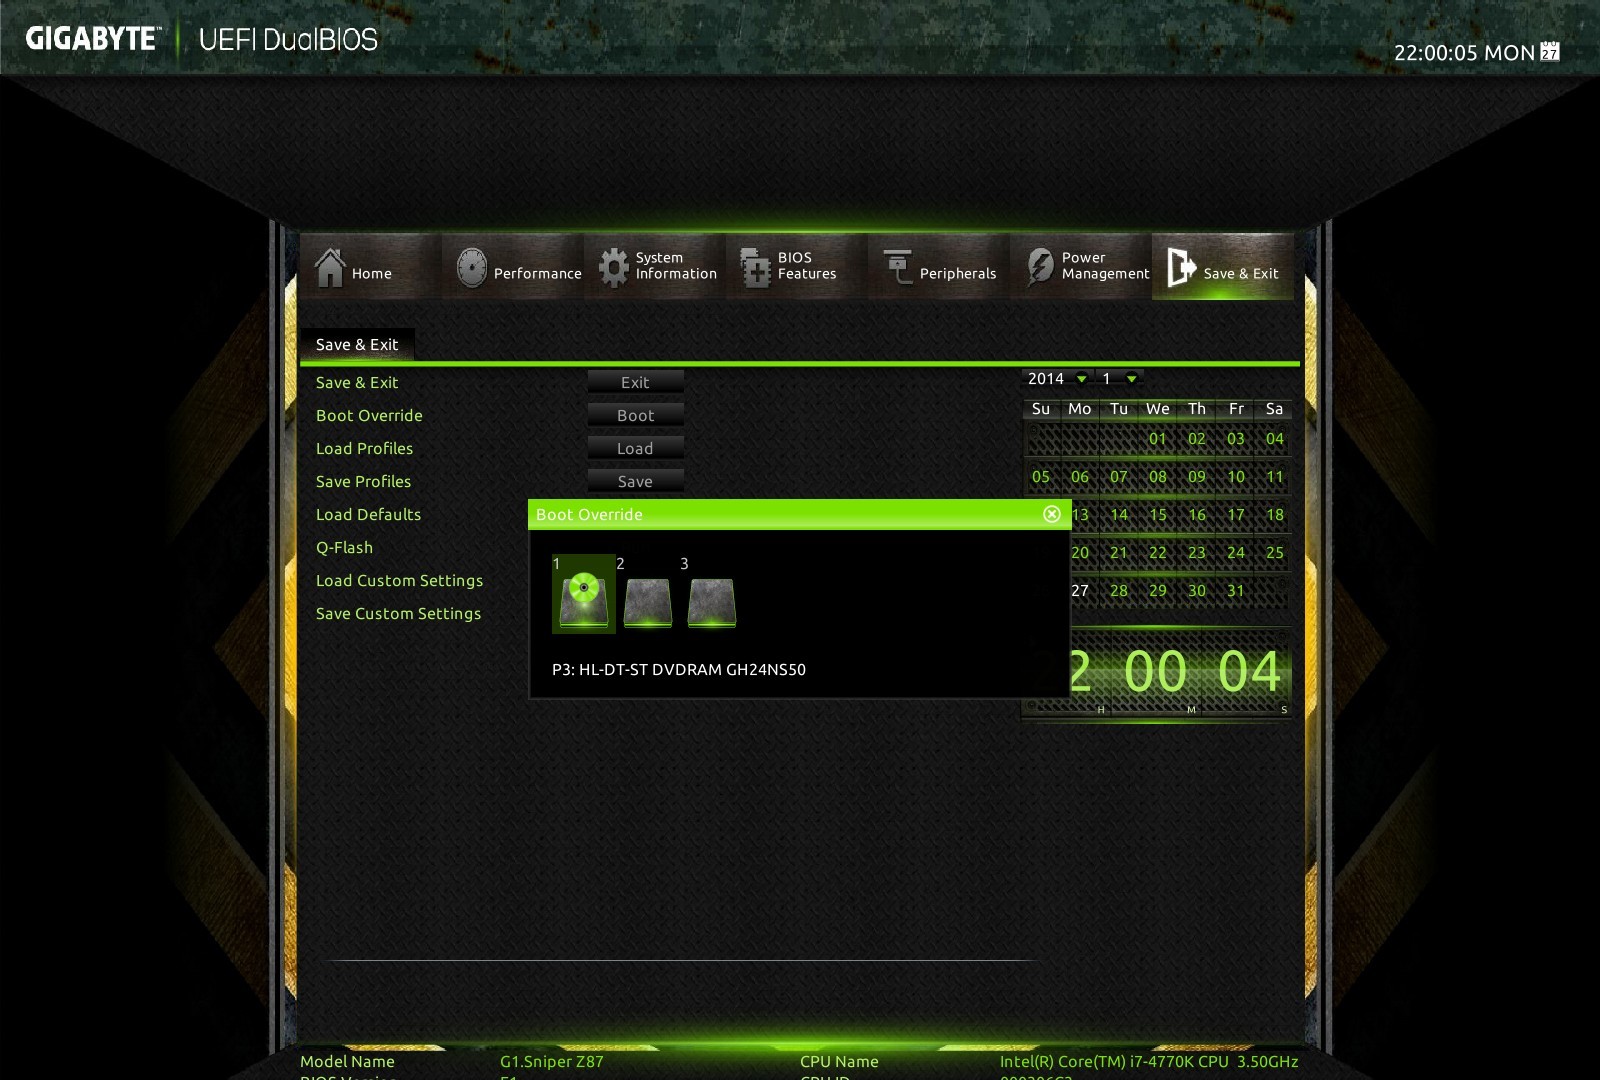
Elsewhere in the BIOS we have system information, BIOS features, BIOS flashing, peripheral configuration and boot override.
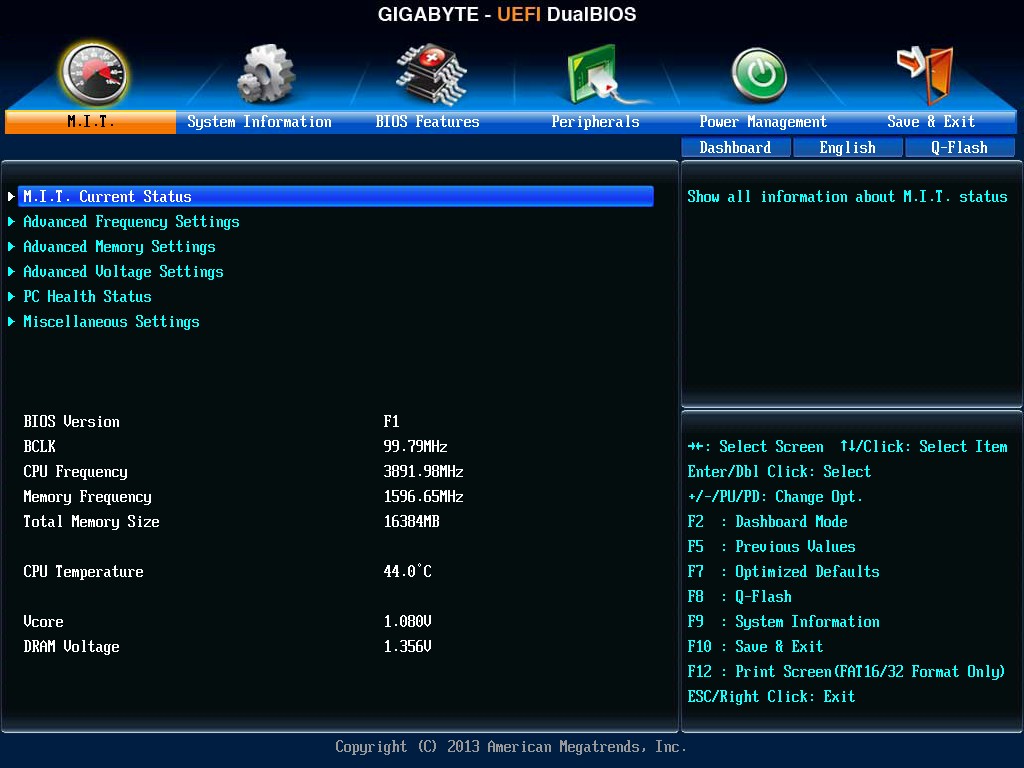
GIGABYTE also keeps the classic mode available for users more accustomed to that layout.


GIGABYTE G1.Sniper Z87 Software
We covered GIGABYTE’s range of Z87 software back in our review of the Z87X-UD3H, including the new installation methods as well as the new version of EasyTune. The new version of EasyTune has been requested for a while (the old one was looking dated and needed new features), and this new model allows for all of GIGABYTE’s apps to be under one central ‘App Center’.
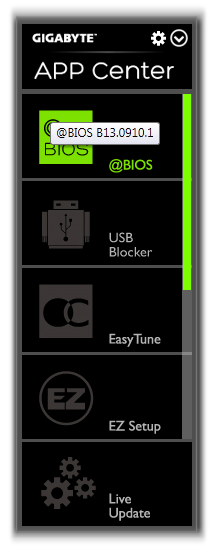
Within this are options for automatic overclocking, fan controls (GB still need to produce graphs of RPM vs ºC from the data they collect), BIOS update tools, USB Blocker, EZ Setup (SRT, RST), ON/OFF Charge, TimeClock and 3D Power.

GIGABYTE’s app tool has options of three different color modes due to their three different lines of motherboards (channel = blue, overclocking = orange, gaming = green). There is a point worth mentioning – the driver CD asks to install Norton Internet Security. I would rather the package made this an optional opt-in installation.
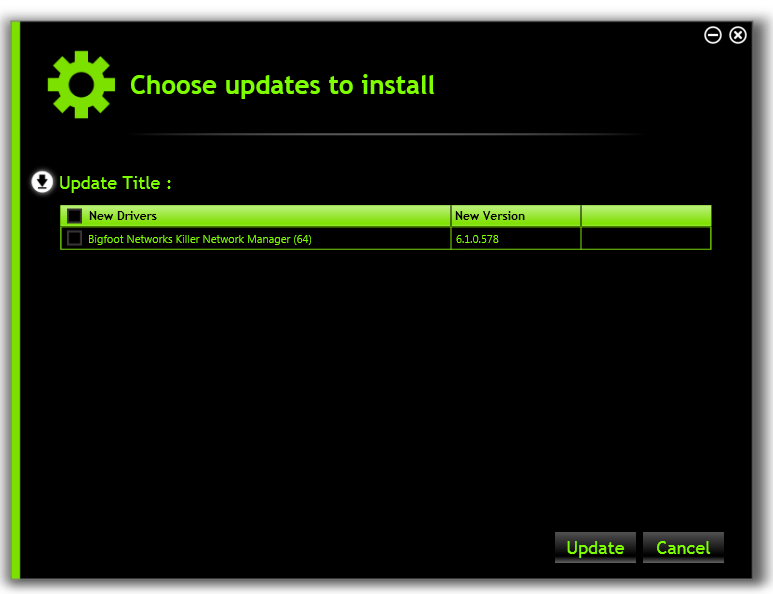
GIGABYTE’s auto-update tool has been improved since we last looked at it, with it ignoring software we have not selected to install (Norton) and accurately giving a list of the latest drivers and updates. I would prefer the system to list the size of the download before the system performs the download and install.
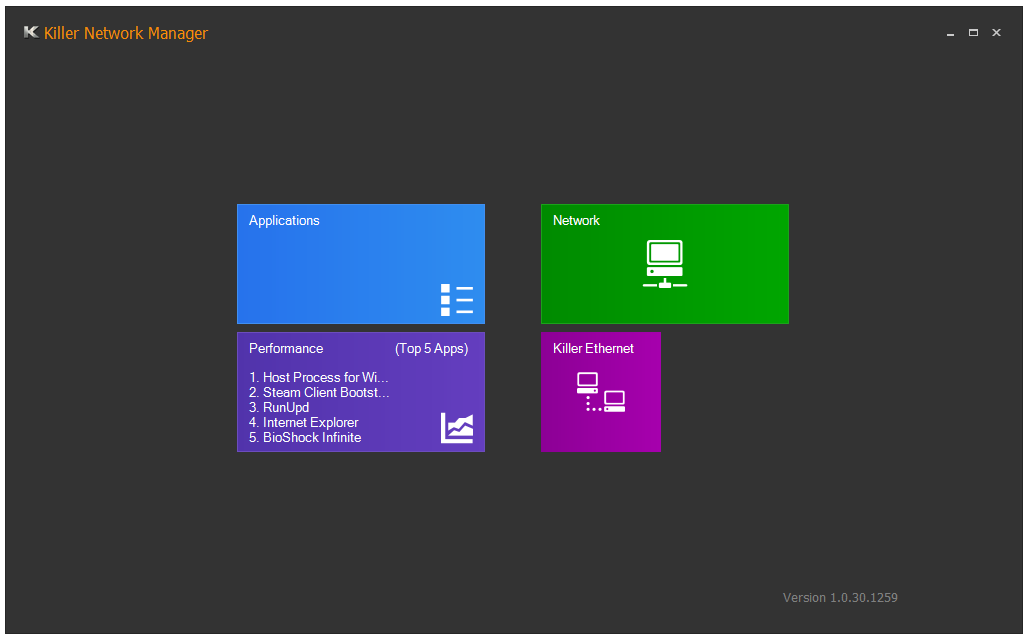
Due to the use of an Atheros Killer E2201 network port, this gives GIGABYTE the use of the Killer software. The new look of the software from Atheros is in the Windows 8 style, but still works in Windows 7. Users can select which programs have high priority, and the software shows a simple array of statistics for traffic and usage.

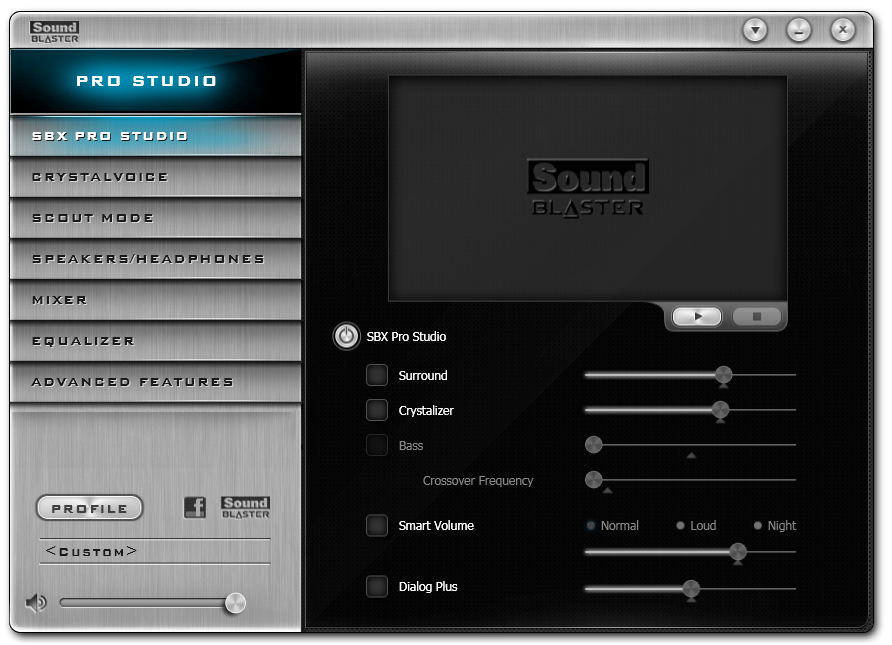
As the G1.Sniper Z87 has a Creative audio codec on board, we also get access to the Creative Sound Blaster range of software. This offers features such as CrystalVoice, WhatUHear and Scout mode – all of which have to be turned off for an accurate reading in our audio testing.


36 Comments
View All Comments
erple2 - Saturday, March 1, 2014 - link
I've been using an xfi for a while (PCI), but when I finally upgraded in September from a core2duo to haswell, the board didn't have any PCI slots. I got the g1.sniper m5 (same audio setup), and the reduction in noise alone was stunning. What's even more interesting was that the onboard audio on my core2duo sounded worse. At least when I turned up the volume on the xfi the sound wasn't a horrible muddy mush. But I have been very impressed with the subjective audio quality of this onboard sound.apertotes - Monday, February 24, 2014 - link
Just a note, and something that I think people should know before buying any Gigabyte motherboard. Their Easy Tune software is great, and works perfectly, but it has 5 global hotkeys non-customizable that grab the total access to "Alt Gr" plus numbers 1-5, meaning that on many non-English keyboard layouts it is impossible to use the following symbols |@#~€. Three of them are used on almost daily basis, so unfortunately many Gigabyte users have had to uninstall Easy Tune.It is a shame, because the global hotkeys are undocumented and they appear nowhere on the settings window, so almost nobody uses them. In fact, even I that know about their existence do not use them because I have no way of doing what they do, other than crash the computer a few seconds after they are pressed.
So, word of warning for non English potential buyers.
Also, it seems that Gigabyte's technical support knows about this since at least 10 months ago, but they said that they won't change their software for minorities.
DanNeely - Monday, February 24, 2014 - link
You'd think regarding everywhere outside of America as a minority would be a sin only practiced by American companies. *sigh*baal80 - Monday, February 24, 2014 - link
I have G1 Sniper M.3 and I've never used EasyTune. This software is a piece of crap, IMO. The only reliable way to OC is manually via BIOS.apertotes - Monday, February 24, 2014 - link
Well, I have not OC my CPU, but I used Easy Tune to control my fans, and it worked beautifully. It is a shame I can not use it any more.baal80 - Monday, February 24, 2014 - link
Ah well, I use SmartFan for that.baal80 - Monday, February 24, 2014 - link
Excuse me - I mean SpeedFan, naturally.bleucharm28 - Monday, February 24, 2014 - link
WoW! is that the Thermalright Ultra 120 in full copper? is so....sexy.dashhbad - Tuesday, February 25, 2014 - link
It is a shame to see a site like Anandtech that prides itself on objective measurement, pander to audiophile hokum. Switching out Op Amps (rolling as it's known) is a completely pointless exercise that at best is likely to do nothing detectable to the sound and at worst may actually ruin it or damage your equipment. I suppose we can trust that Gigabyte have tested their three Op Amp "Upgrades" such that they don't cause any damage but it would have been fairly straightforward for you to have measured the three options to show that there would be no detectable differences.For those interested there is a good breakdown of Op Amp myths and facts (including Rolling) here: http://nwavguy.blogspot.co.uk/2011/08/op-amps-myth...
When you see that Gigabyte have a MSRP for the op amp kit of $79.99 but all three can easily be bought from Digikey for a total of $22 it is plain to see why they are providing this option. Its a marketing gimmick aimed at a clueless "Audiophile wannabe" crowd. And no, you don't need a tool to remove/replace a socketed op amp.
edzieba - Tuesday, February 25, 2014 - link
"Front Audio Headphone Amplifier (600ohm support)"This raises a huge flashing red flag, with bells on. What is the measured impedance of the 'headphone output'? Because if they're putting 600ohms out as a marketing figure (rather than advertising a sub-2ohm output), that sounds like the output impedance isn't much below 75ohms. Which is Really Bad: http://nwavguy.blogspot.co.uk/2011/02/headphone-am...