ASUS P9X79-E WS Review: Xeon meets PLX for 7x
by Ian Cutress on January 10, 2014 10:00 AM EST- Posted in
- Motherboards
- Asus
- Workstation
- X79
- Prosumer
ASUS P9X79-E WS BIOS
The BIOS for workstation motherboards, at least from the ones we have tested, are not different from the main channel line of motherboards. This is mainly due to the motherboard unit at ASUS that produces the workstation is also the same unit that deals with the consumer lines. As a result, we get a near identical BIOS to the recent Z87 line of motherboards (updated with Last Modified, My Favorites, Quick Note etc), with one or two options aimed specifically at the WS. As one might imagine, there is fewer automatic overclock options provided due to the nature of the market being aimed at (as well as the fact that Xeons are multiplier and CPU strap locked), but our analysis is essentially the same as our other reviews on this BIOS generation.
Since the inception of graphical interfaces for consumer motherboard BIOSes, motherboard manufacturers have been keen to give the user as much functionality as they need without going overboard with garish visuals, as well as catering for users who are new to the BIOS. The Z77 platform BIOS from ASUS was well received, giving users a large number of options for configuration in a textual format – the implementation that debuted with Z87 and is on the P9X79-E WS is another iteration along similar lines with a few new interesting points.
Firstly when we enter the BIOS, we get our ‘EZ Mode’ (‘easy’, rather than ee-zed) similar to the last generation but with a few minor updates. Firstly the font is changed to a pixelated form of common fixed-length word processing fonts:
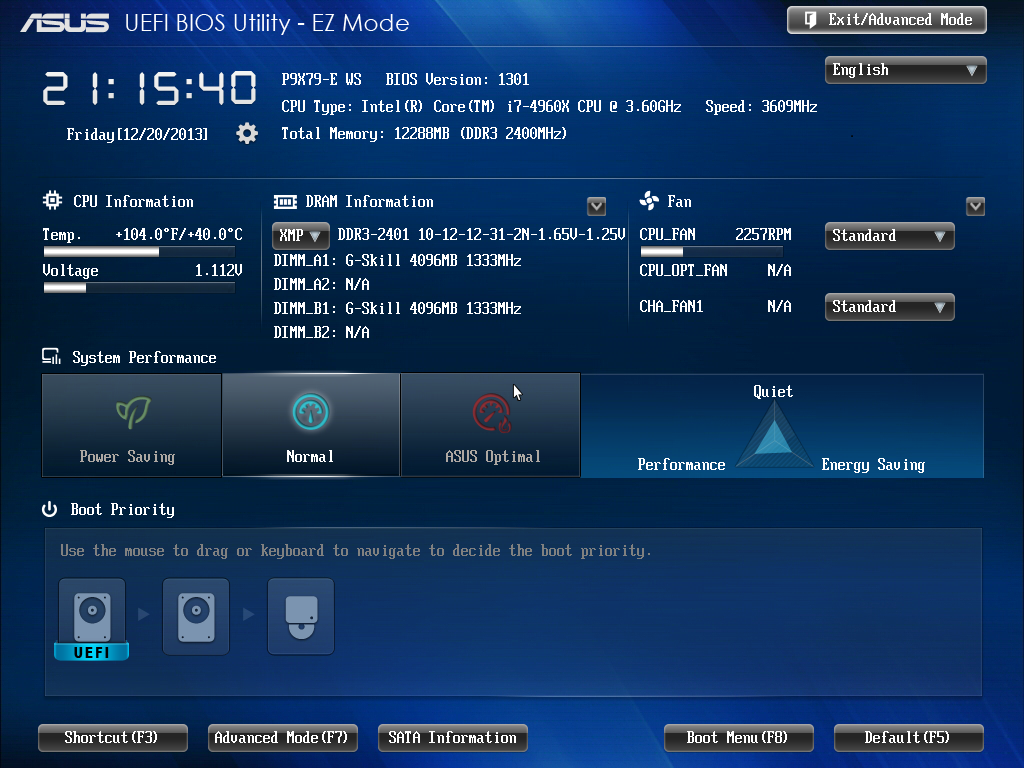
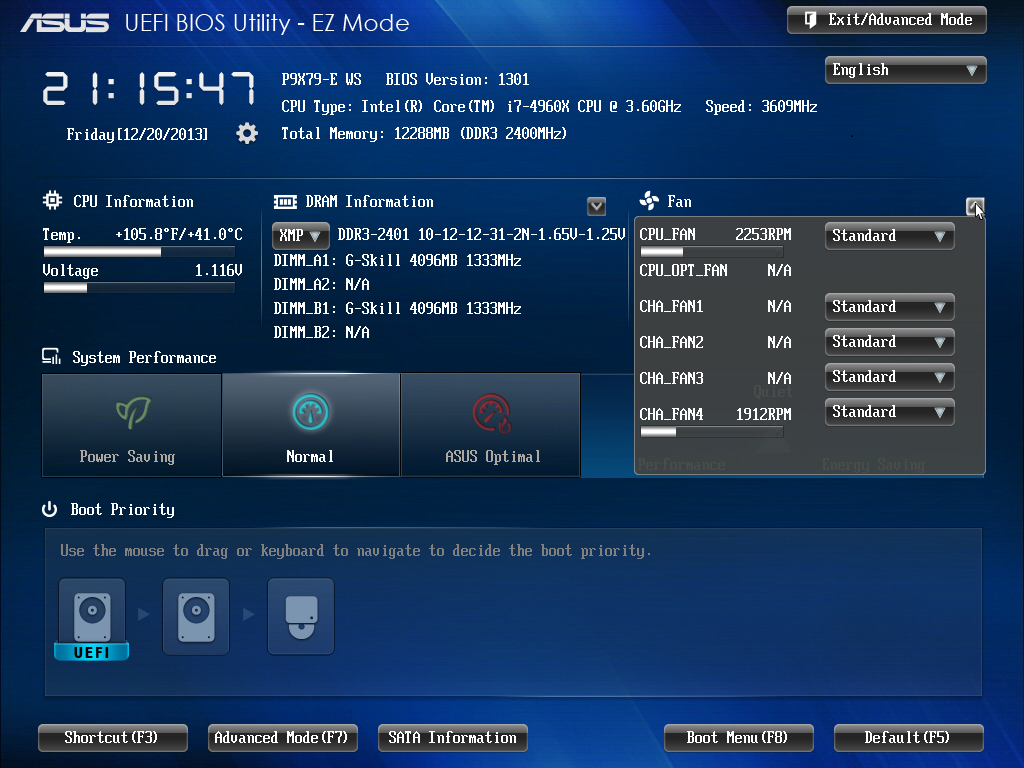
On this front screen we get detail on the motherboard in use, the BIOS version, the CPU installed, the speed of the CPU, the total memory installed, the CPU information (temperature/voltage), the DIMM slot recognition and fan speeds. An addition to this screen is that we can apply XMP without going into Advanced mode with a small drop down in the DRAM Information section. The fans too can be adjusted with their own drop downs:
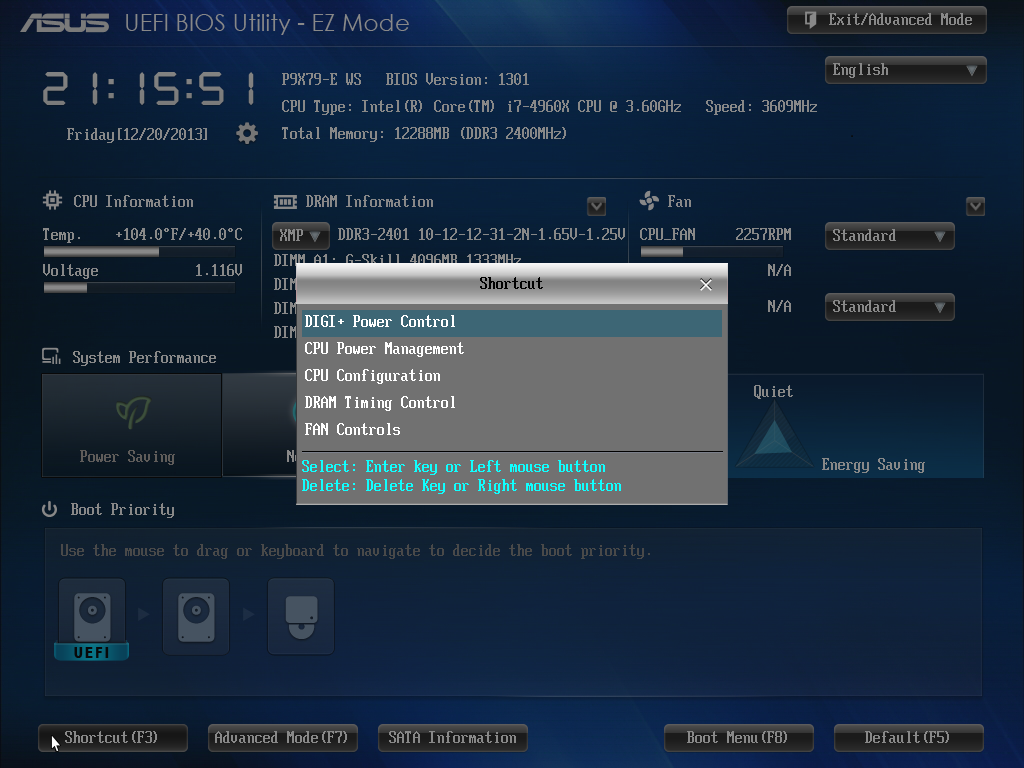
For users that want to access Advanced Mode but a specific menu, the Shortcut (F3) option at the bottom defaults to the following:
When entering the BIOS Advanced Mode, we get put into the Main tab to begin with:
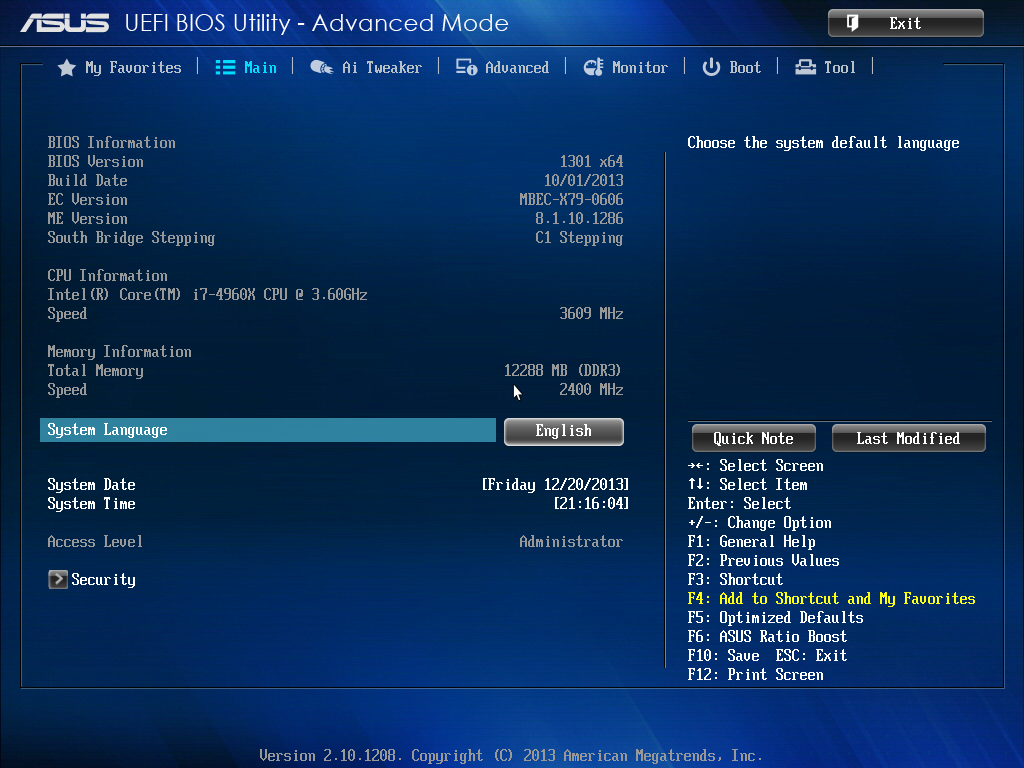
Several options are new to the BIOS that are worth pointing out. On the right hand side we have two new options – Quick Note and Last Modified. By choosing Quick Note, a user can leave notes in a notepad type window for future reference. Last Modified does what it says on the tin – it tells the user what options have been changed in the BIOS since the system was booted.
Another feature shown on the Main screen is on the right hand side and in yellow, labeled ‘F4: Add to Shortcut and My Favorites’. This is pointing to the tab on the top left of the BIOS, called ‘My Favorites’.
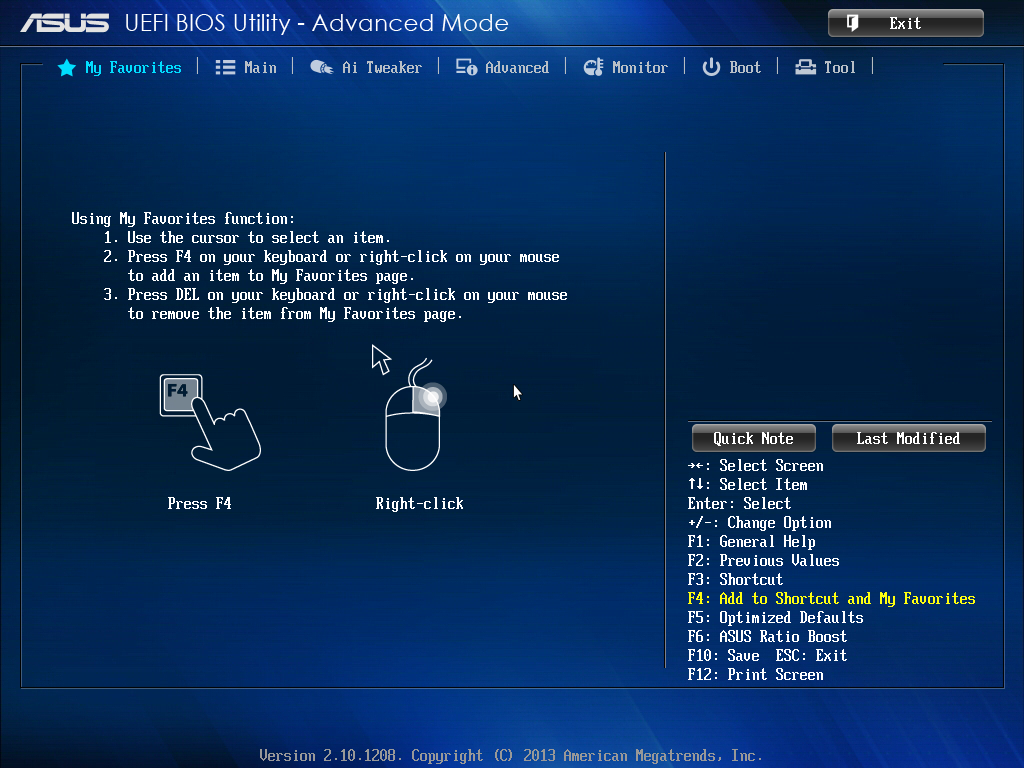
My Favorites allows users to select any option in the BIOS they want and place it in this menu. This is of invaluable help to overclockers who use the BIOS frequently – it allows these users to place the options they used most frequently (CPU Ratio, CPU Voltage, Memory sub-timings) into a single menu rather than shuffle around several menus at once. It solves the issue of ‘what is the right way to show your options’, as almost all the different motherboard manufacturers have their own way. Also in terms of customization, users can place their own overall tabbed menu options into the shortcut menu.
The main series of options are all found in AI Tweaker, the home for overclocking options.
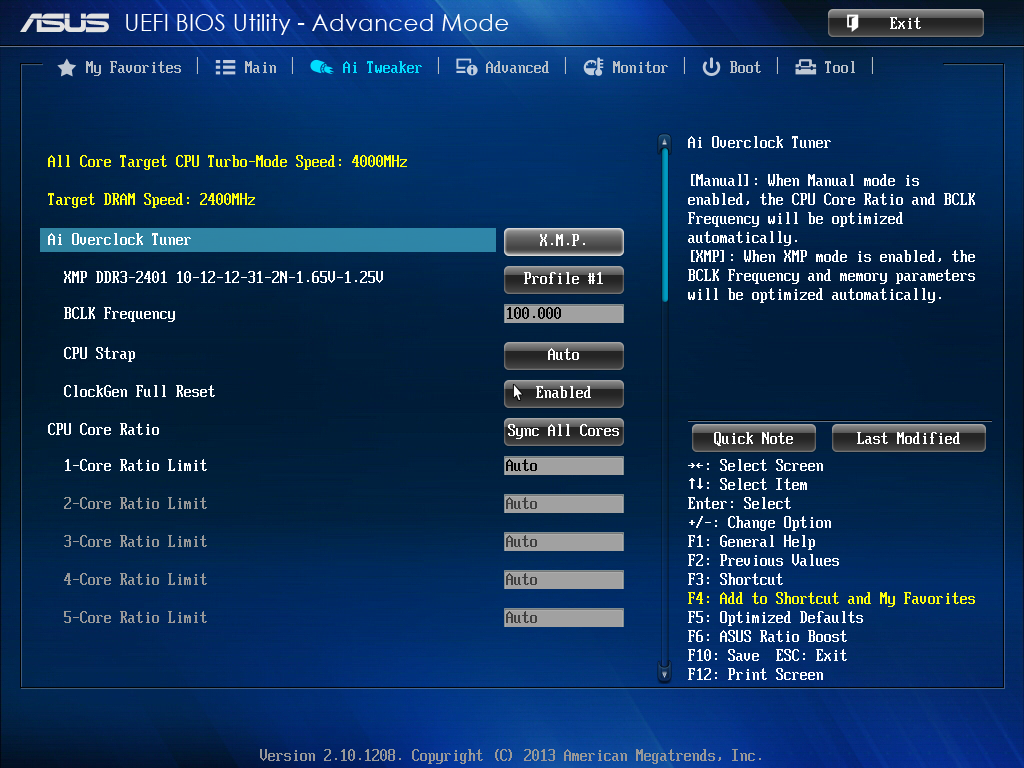
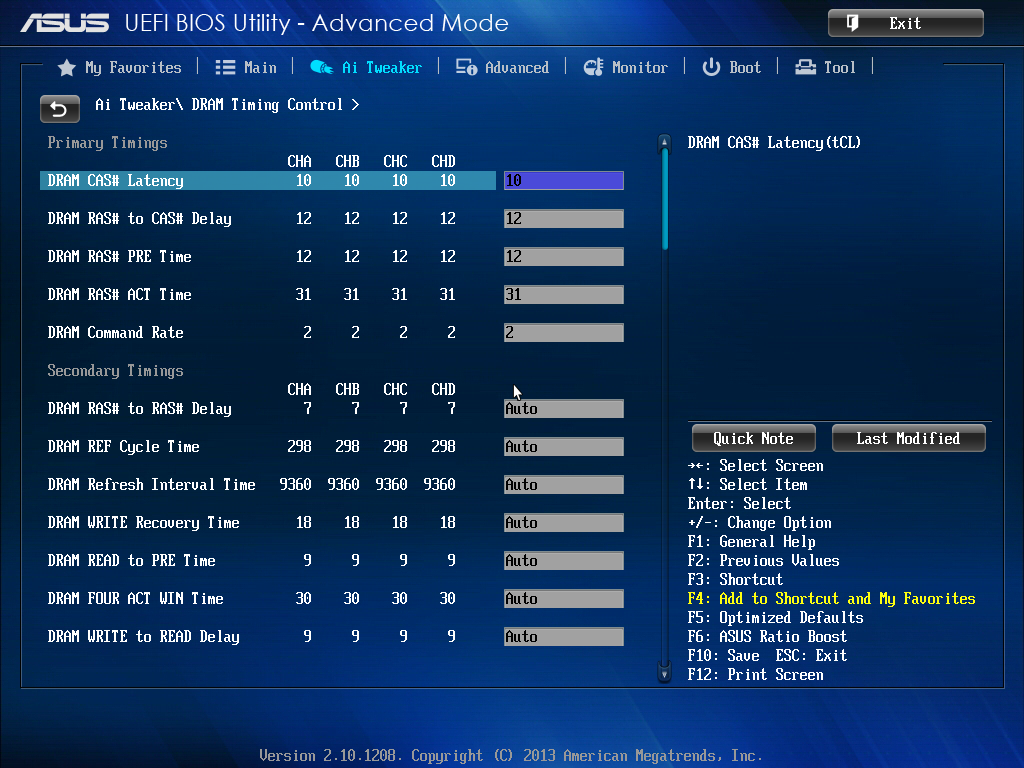
One of the many positives about the ASUS BIOS is the information provided with options in the top right corner. For most of the options it provides an explanation of what the option does - if it comes with Auto/Manual selections these are described as well. As for AI Tweaker itself, our options are split into CPU+DRAM, voltages and more voltages. Advanced options for DRAM subtimings and power control are in sub menus off this main list:
Unfortunately we do not get the GPU options similar to Z77 ROG boards which show which GPUs are in the motherboard at POST. This is a little unfortunate to be overlooked for a WS motherboard.
In the Advanced menu are the controller options and additional CPU/power state adjustment options.
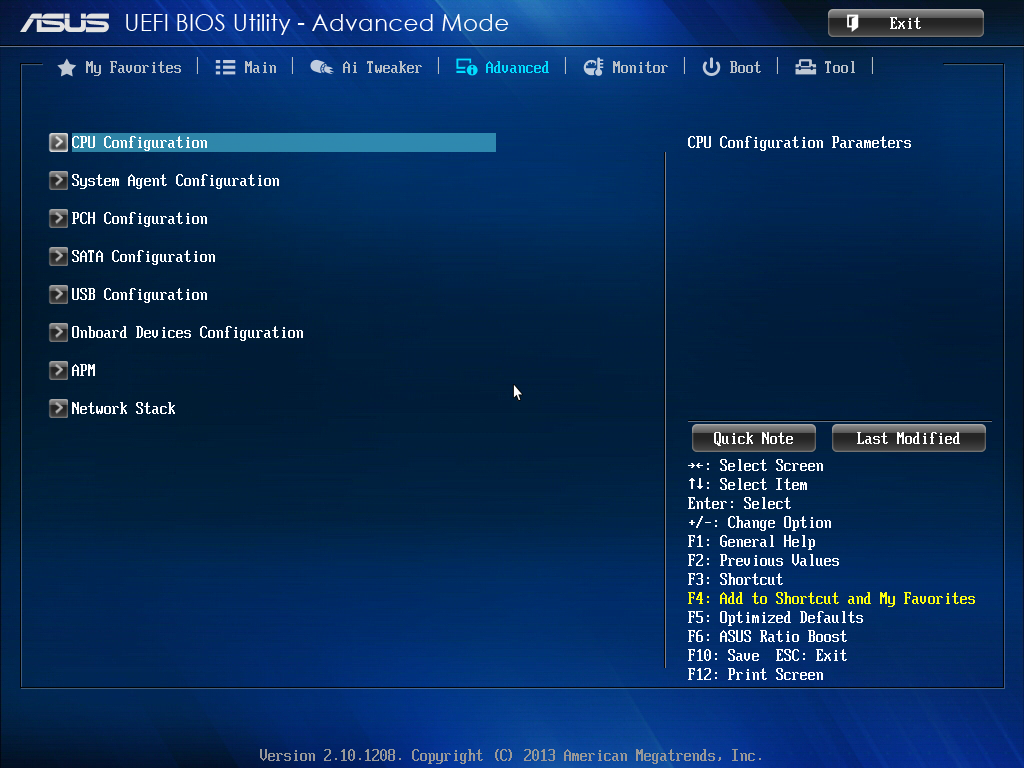
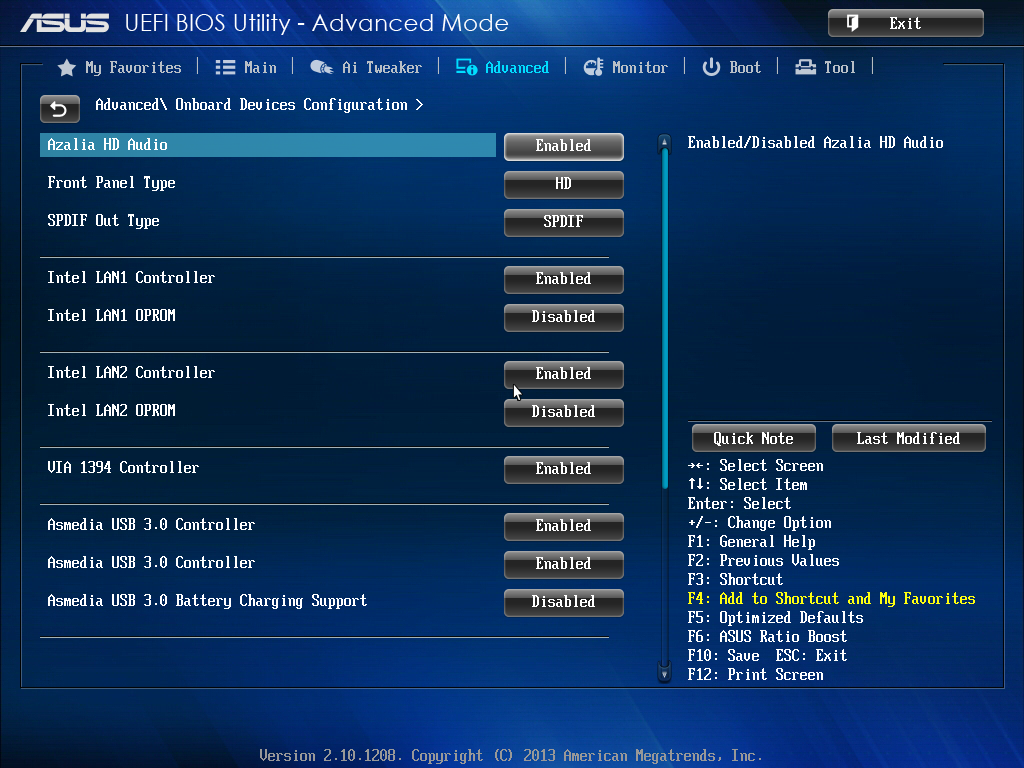
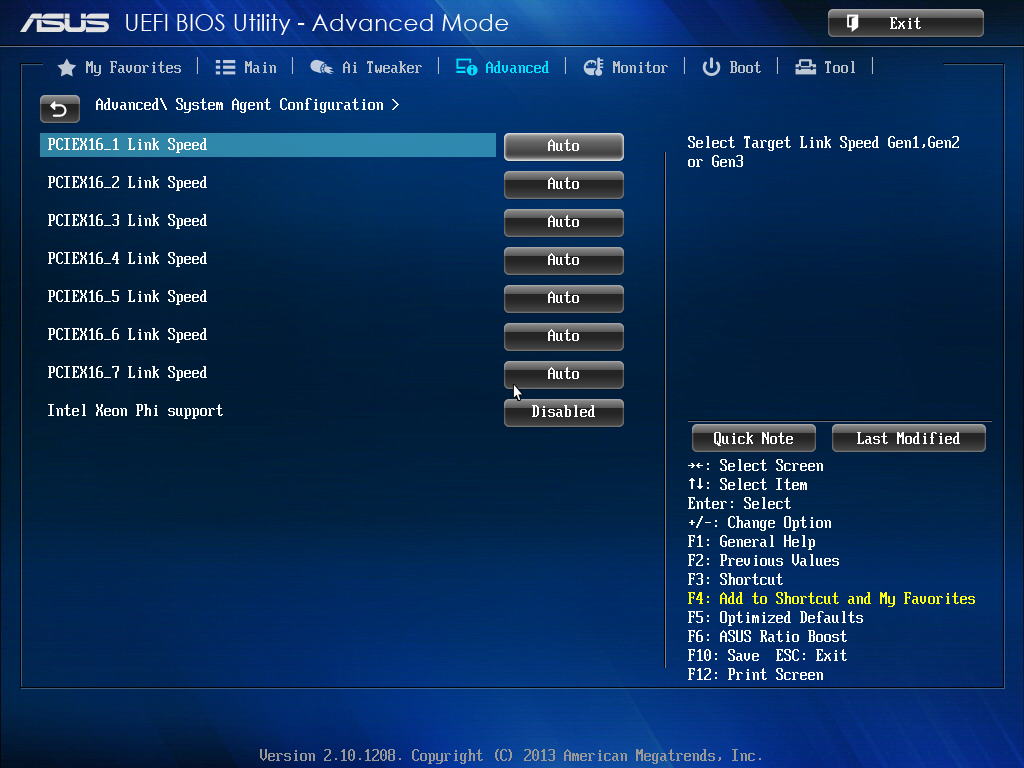
In the Onboard Devices options above show the available controller options, and for Xeon Phi users the option in System Agent has to be enabled:
BIOS fan controls are found under the Monitor tab menu:
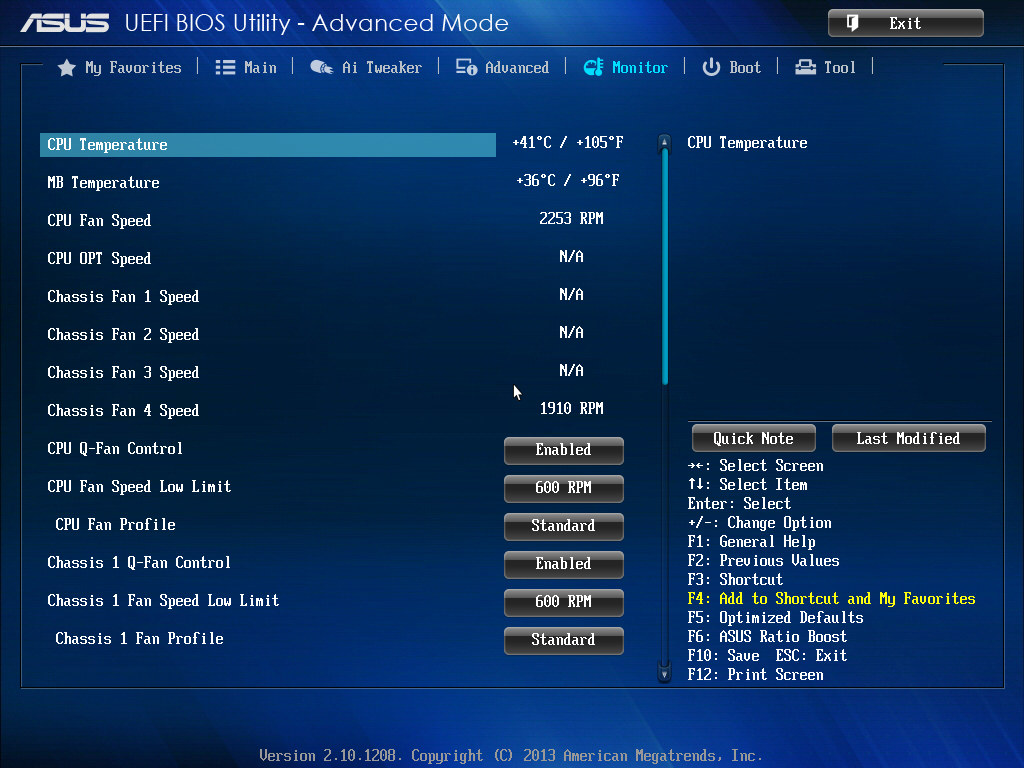
Ideally users will head to the OS for more extensive fan controls, but ASUS offers the basics here – an RPM lower-bound limit with silent/standard/turbo fan profiles.
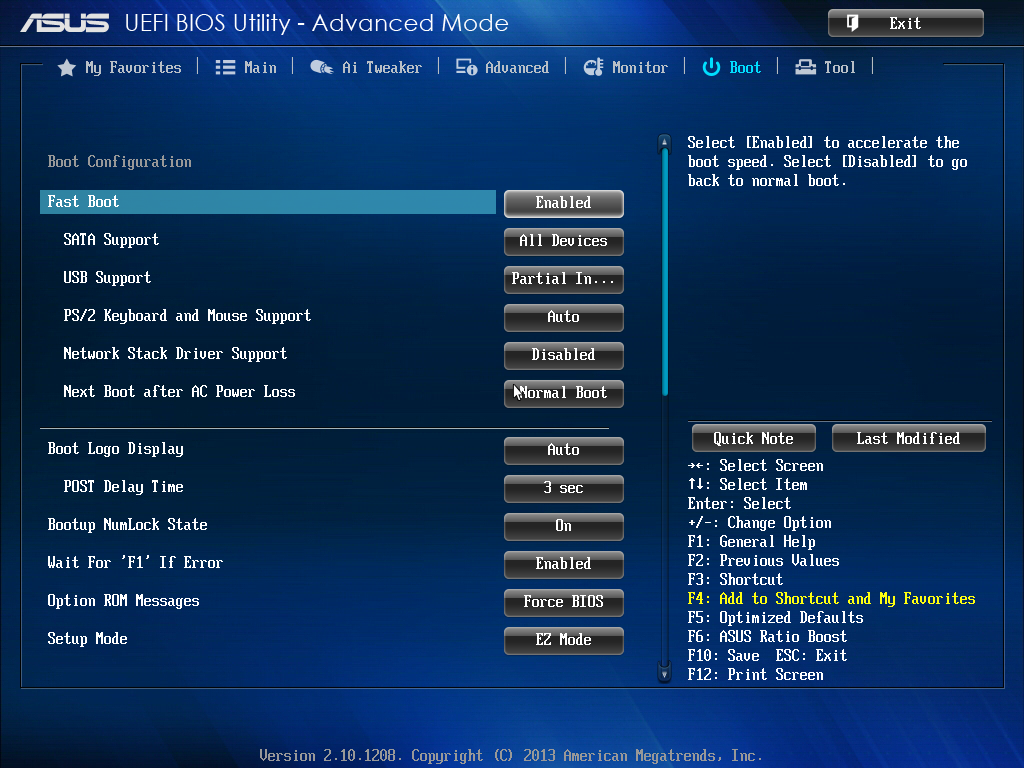
Elsewhere in the BIOS we have boot options for fast booting, boot order, boot override, and also utilities such as EZ Flash and ASUS’ OC Profiling.


ASUS P9X79-E WS Software
One of the old habits of X79 launch for ASUS is AI Suite II. While on Z87 and the Rampage IV Black Edition (a new build) the system is designed to use AI Suite III, for the P9X79-E WS we get AI Suite II, which still has much of the functionality except the slicker interface and DIP4 overclocking options. Instead we go back to a TPU/EPU arrangement in the options.
AI Suite

AI Suite starts as a simple bar with buttons for the software tools, monitoring and updates, as well as a tuning button to allow the software to perform overclocking. As part of our reviews of the P8Z77-V Pro and the P8Z77-V Deluxe, we have covered most of this software, including:
TurboV Evo: Overclocking tools.
DIGI+ Power Control: Adjusting power delivery to the system.
EPU: Energy saving functionality.
Fax Xpert: Fan control and management.
Probe II: Monitoring temperatures, voltages and fan speeds.
Sensor Recorder: Time comparison charts for Probe II.
AI Charger+: Fast USB 3.0 charging for BC 1.1 compliant devices.
USB 3.0 Boost: Increased USB 3.0 speed.
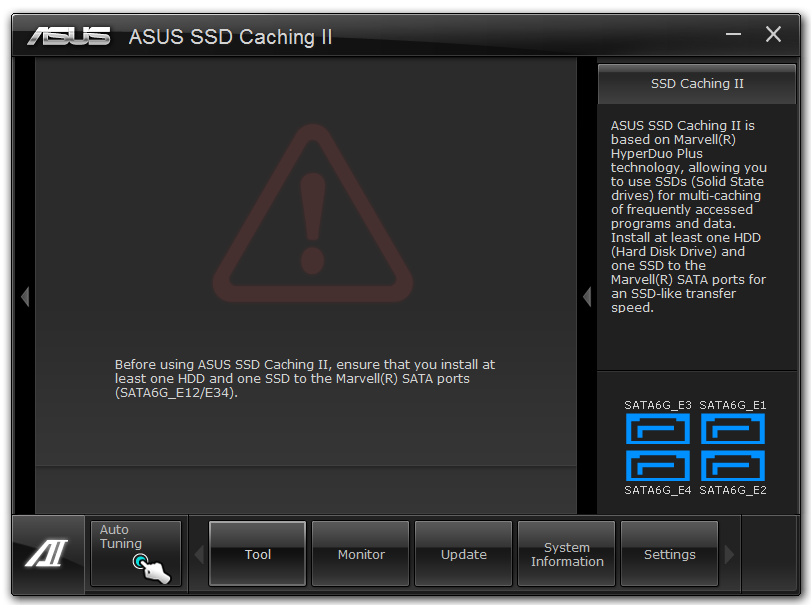
ASUS SSD Caching II: SSD Caching using ASUS technology and Marvell controllers.
Here are the key features:
TurboV Evo
The overclocking heart of AI Suite is TurboV Evo, which allows users to adjust the voltages and BCLK of the system in real time. I typically use this software to find basic OS limits, and then attempt to boot into OS at that speed to give a little headroom.
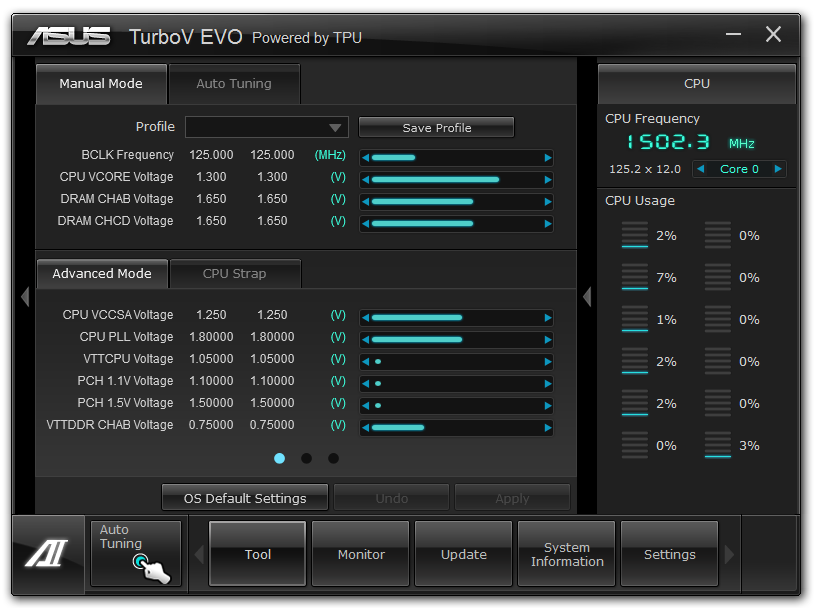
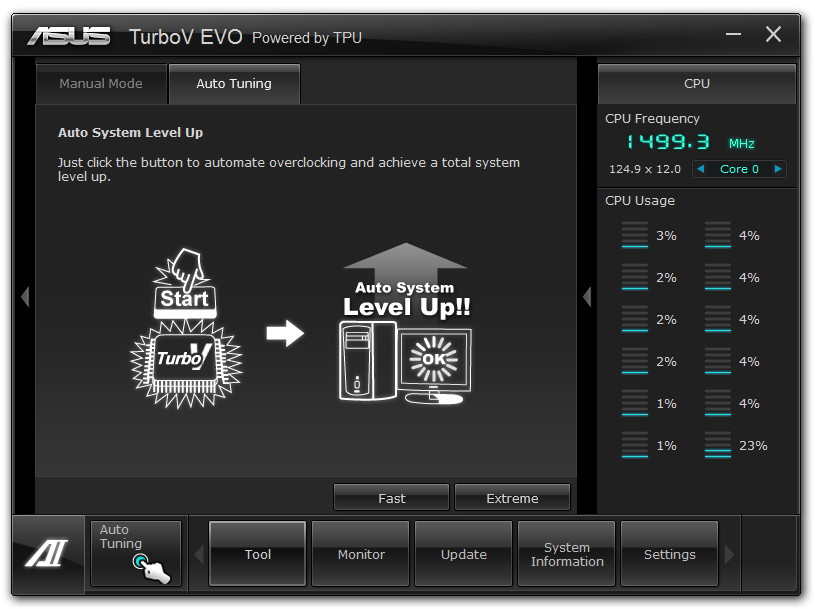
Part of TurboV Evo is the Auto Tuning section, which gives users two choices for automatic overclocks - Fast and Extreme. Both of these are covered in the Overclocking part of this review.
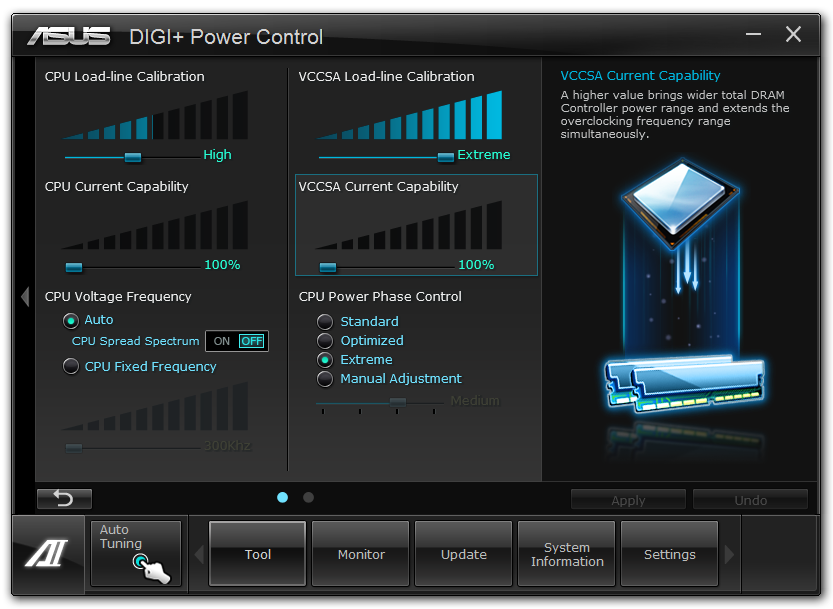
DIGI+ Power Control
One of the features that ASUS likes to advertise as part of their motherboard range is the ability for the user to adjust how the power delivery responds to load. These options help maintain constant voltage under busy periods (useful for stability testing and overclocks), or can be used to reduce the power usage of the motherboard and increase life expectancy. Along with the BIOS controls, ASUS also offers software tools in AI Suite to perform these operations.
Fan XPert
In order to separate itself from the rest of the motherboard manufacturers, ASUS does like to parade their fan technology. By using upgraded fan controllers on board, a combination of hardware and clever software allows ASUS to control their fans like no other. From the software perspective, we have Fan Xpert.
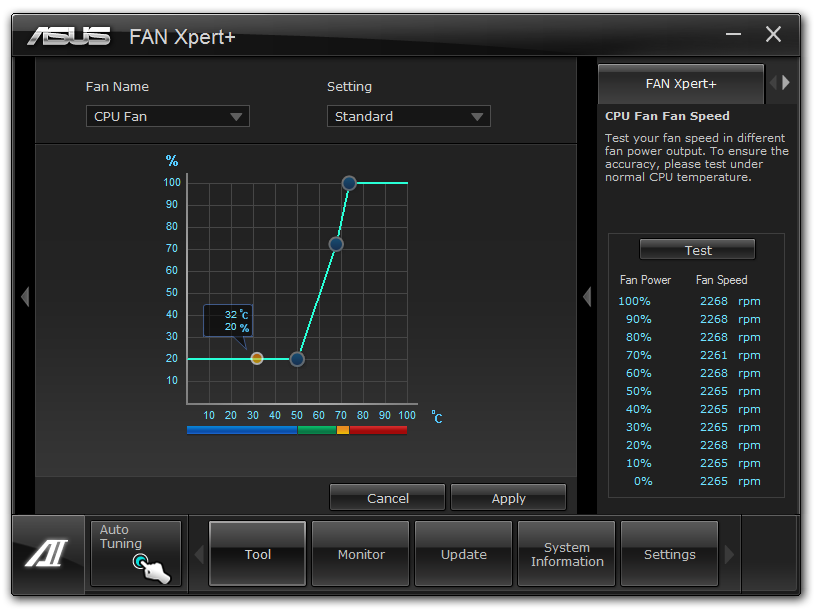
Fan Xpert will auto tune the fans, giving each one a power vs. RPM curve (as fans do not linearly increase in speed with applied power). The user can then adjust a multi-point power against temperature curve for each of the fans in the system. In my case, I like to have my fans run as quiet as possible when idle and during videos, and as fast as they can during gaming.
SSD Caching
For users that want to use a small SSD as a cache to a larger hard drive, ASUS use Marvell controllers on the P9X79-E WS to allow the system to use SSD Caching. This was all the rage when prices for SSDs were $2+ per GB, but now we are down to less than a quarter that in some cases, which suggests that SSD Caching might have had its time. It is still part of the X79 system however.
Marvell Storage Utility
While not from ASUS, the motherboard does come with the software in order to manage the Marvell SATA ports in terms of arrays. The controller is capable of RAID 0, 1 and 10 (unfortunately not RAID 5), and the web-based interface is similar to other Marvell systems we have reviewed before.


53 Comments
View All Comments
EdB1 - Tuesday, July 29, 2014 - link
There is no driver support for Server 2012 so if you want to run it as a server using that OS then forget it. After all Asus has only had about 2-3 years to make the drivers for it. Using the Windows 8.x drivers doesn't work either, I tried to run them under admin mode and also compatibilty mode without success.EdB1 - Wednesday, July 30, 2014 - link
Just a followup to my previous post, there are drivers out there but not on the Asus site, got some links for the chipsets on another forum site, just need to find one more.lymang - Sunday, December 14, 2014 - link
I know this is old but I have to say, having bought one recently, I did not make the connection on how few USB headers on the mobo this had. I wish I'd caught that it had an internal USB 2.0 connector instead of a header.