ASUS F1A75-I Deluxe Review – Llano and Mini-ITX
by Ian Cutress on October 1, 2011 5:30 PM EST- Posted in
- Motherboards
- Asus
- A75
BIOS
The ASUS UEFI is becoming pretty entrenched in our reviews of ASUS boards now as one of the better UEFI implementations currently available. As I write, ASUS are still on the release BIOS for the F1A75-I Deluxe, which is what I have here, and it works as it should with no issues.
I should point out that as this board has not been released, the BIOS is technically still not an official release. This will most likely change in the near future.
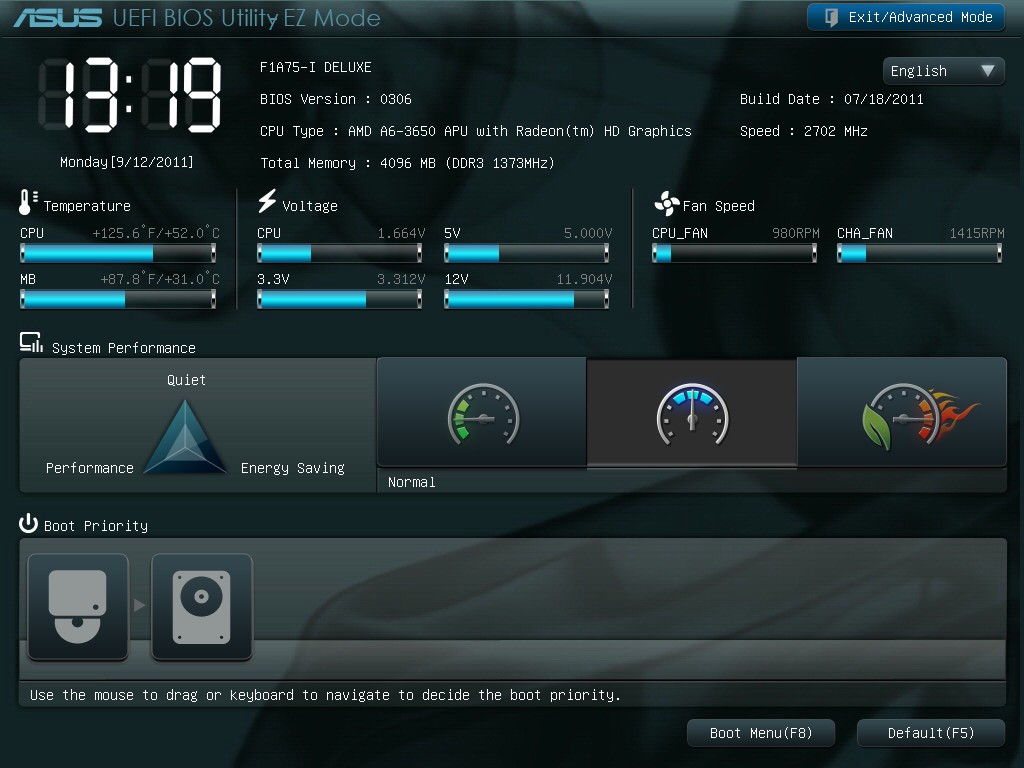
The front page represents the easy mode of BIOS tuning, detailing all the important information every manufacturer should give on the front page – the board name, the BIOS version, the CPU and CPU frequency, total memory and speed, temperatures, voltages and fan speeds. The system performance option allows users to apply preset ASUS settings for low power, standard, or enhanced performance. Also, users can adjust the boot priority using the drag and drop icons at the bottom, or boot from a selected device with a double click. One thing I did notice is that my USB device that was selectable later on in the BIOS was not present in this boot priority menu.
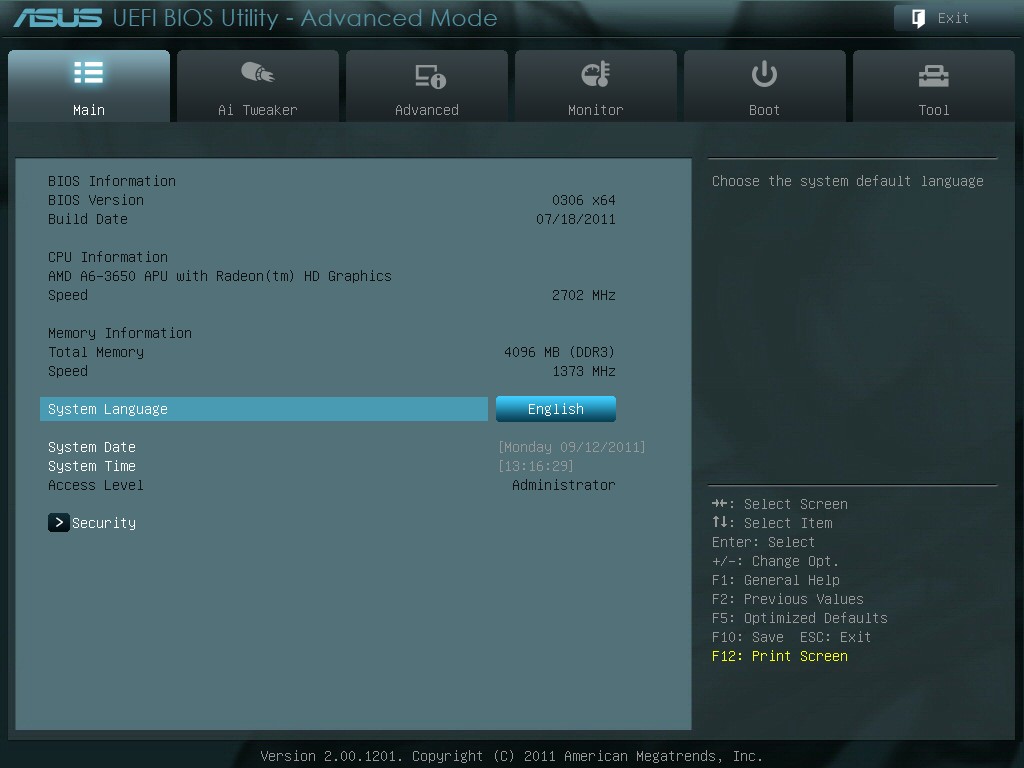
For more detailed options, users must navigate to the advanced mode, which gives a more standard BIOS feel to it.
The AI Tweaker menus give the overclock options. Left on automatic (in normal power mode on the easy BIOS screen), these will default to stock settings – including my memory at DDR3-1333 and CL9, despite it being rated much faster. With memory being an important factor in Llano graphics, and the A75 platform, currently released processors will support DDR3-1600 or DDR3-1866 - there is rather an elaborate way of implementing XMP on this board, by selecting the DOCP profile and navigating through a submenu.
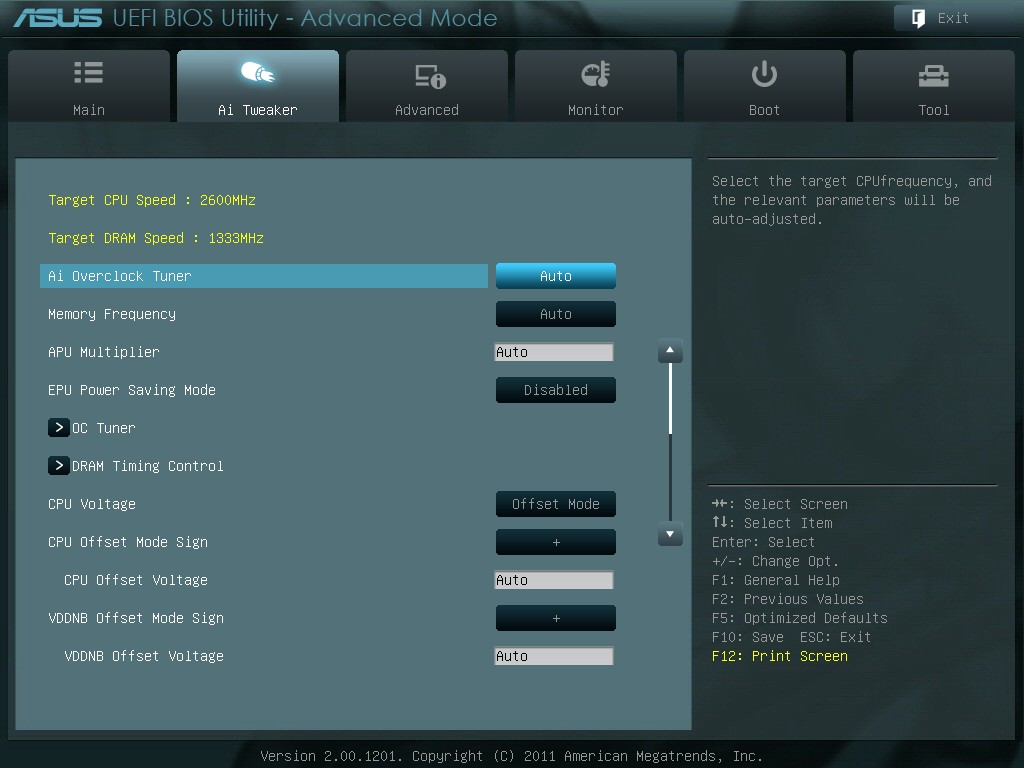
Along with the overclock and memory options, all of which are fully featured, the voltage section allows either an offset to be applied, or a selectable value. There are no options to change any of the integrated graphics clock settings, however. This has to be done in the operating system using Catalyst software.

The fan settings for the two onboard headers are adjustable through the UEFI or in the operating system – any setting made in the UEFI will make its way into the OS software for manual graphic manipulation.
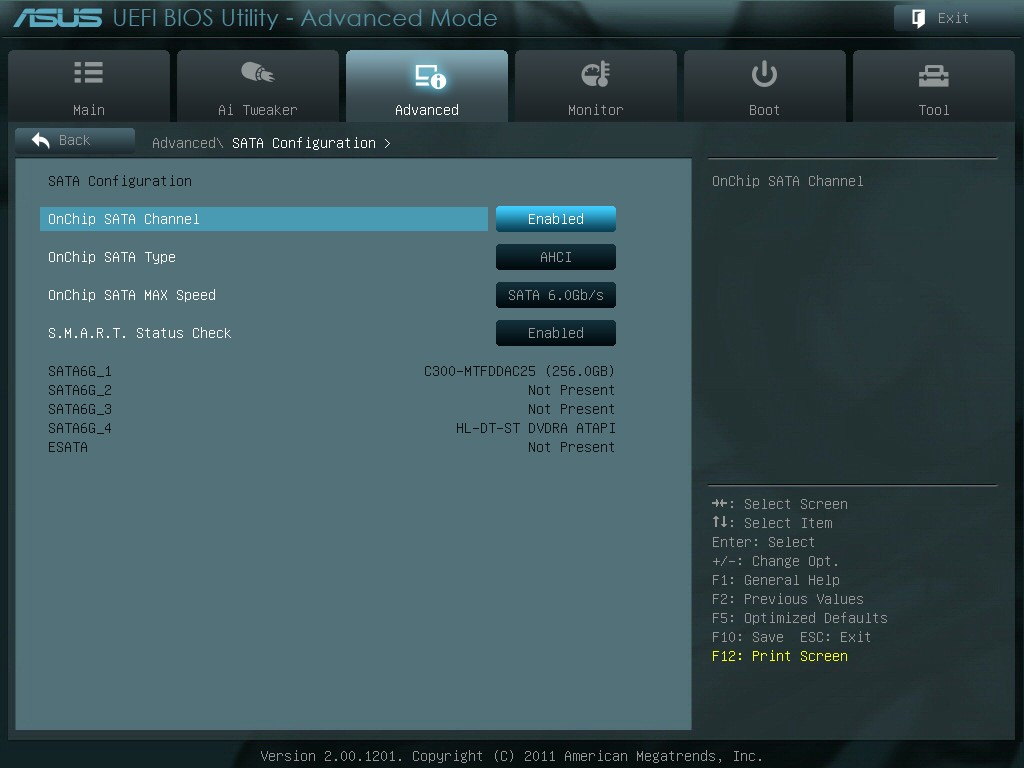
On default settings, the SATA configuration will revert to IDE mode. I can see that there are various reasons for being in IDE mode automatically for compatibility, though I would hazard a guess and say the users of this board will most likely be using relatively newer SATA drives and an AHCI compatible operating system, meaning I would prefer AHCI by default and the extra performance it gives.
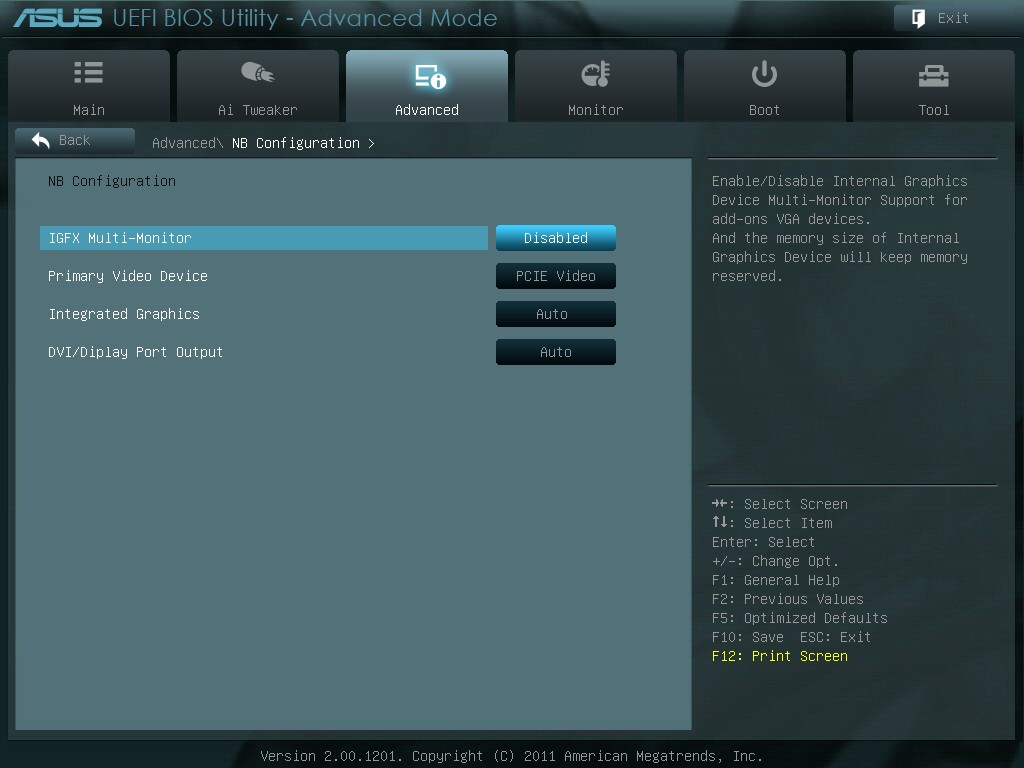
The integrated graphics part of the BIOS can force the on chip graphics, even when a discrete GPU is present (presumably for GPU simulation/OpenCL), or when the discrete GPU can be put into CrossFireX with the integrated graphics for improved performance. Here we can also set the memory reserved for the integrated GPU, in predefined levels up to 2 GB.


Overclocking
If this board were to have a serious issue, from the perspective of functionality beyond specifications, it would be the overclocking.
In terms of automatic overclocking features, the BIOS has the OC Tuner option, and the OS has software which enables a ‘Fast’ OC and an ‘Extreme’ OC. In my experience, the OC Tuner and ‘Fast’ options performed similarly, giving a 3% overclock in the base clock from 100 MHz to 103 MHz. Memory frequency similarly received a 3% bump, rather than applying the inbuilt XMP profiles which I would have expected.
The ‘extreme’ preset is a more aggressive form of overclock, configuring and testing the system until a suitable maximum is reached. When this button is clicked (for a non-black edition Llano CPU), the base clock is adjusted up 1 MHz at a time, stress tested for a short time, and at every multiple of 10 MHz the system restarts. On previous platforms, I have had no issue with this preset – usually it has applied more voltage than ideal, but it works well in the majority of situations. Here however, there is a slight problem. After going up to 110 MHz, the system rebooted, and failed to recover. Upon loading Windows, it would blue screen (with the characteristic of a failed overclock), and end up in restart loop. In the end, I manually had to reduce the BIOS speed to 107 MHz to get a successful OS start up.
In terms of manual overclocking, this is fairly straight forward. I manually increased the CPU voltage to 1.5 V, the memory voltage to 1.65 V, and adjusted the base clock. However, I could not get the machine to boot above 107 MHz. No matter what settings I used (included a set which ASUS gave me involving adjusting the CPU current limits), the 107 MHz barrier would not be breached.
Overclocking in the operating system was a different matter altogether. Using the ASUS Suite II software, when using a discrete GPU, I could happily adjust the base clock to 120 MHz under stock voltage and it was stable through 2D and 3D tests. Unfortunately this setting is not kept between boots, and requires manual application every time. While using the integrated graphics, using this method, I could not go beyond 110 MHz.
As a result of this situation it is almost impossible to recommend this board as an overclocking board. Due to the design and low profile nature, I would be happier running this board at stock, but users will have to manually adjust the memory speed to something more useful for the Llano processor.
Update:
I approached ASUS with this issue regarding the overclocking. They suggested that I may get a better overclock when using IDE mode for my SATA ports rather than my default of using AHCI to keep the SATA port testing equivalent.
In IDE mode, overclocking is a different story. While on the discrete GPU, I was able to boot at 140 MHz no trouble, effectively moving from 2600 MHz to 3640 MHz, with all settings in the BIOS on auto. 145 MHz caused similar OS booting issues to AHCI mode beyond 105 MHz, but a 40% overclock is a brilliant result to get.
Using DDR3-2133 MHz memory (9-11-9), at 140 MHz, the BIOS settings gave me a choice of DDR3-1866 and DDR3-2240 speeds on their respective dividers. With the memory subtimings set at auto, only DDR3-1866 worked, with 9-9-9 subtimings being applied automatically. I was able to boot at DDR3-2240 if I loosened the subtimings, but DDR3-1866 CL9 represents a standard Llano kit that people would buy and it managed this easily.
By using ASUS’ recommended settings, and bumping up the CPU voltage beyond that given at 140 MHz by the Auto setting, I was unable to improve on 140 MHz as an overclock, which leaves 140 MHz a good benchmark for this processor.
In terms of pure throughput, this 3640 MHz setting gave a boost in 3DPM from 66.27 to 93.42 in single threaded mode, and from 224.68 to 315.21 in multithreaded mode.
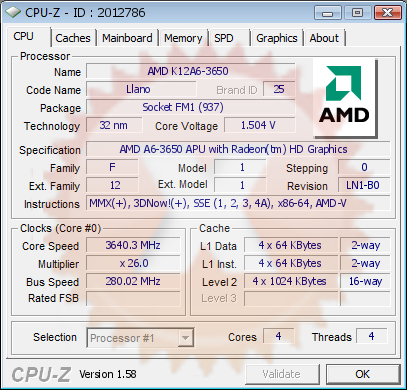
(CPU-Z does not correctly record the Bus Speed yet,
however the overall Core Speed is correct.)


51 Comments
View All Comments
fromage2323 - Tuesday, November 22, 2011 - link
i just want to say i cant get the remote to work on win7 64-bit no matter what i do. drivers install automatically just fine but it does nothing. same result on two different systems so far. other than that i love the board.