How To Get Ryzen Working on Windows 7 x64
by Ian Cutress on March 7, 2017 8:30 AM EST
Officially, AMD does not support Ryzen CPUs on Windows 7. Given that Microsoft has essentially ended support for the OS, this is the type of response we expect from AMD – Intel has also stopped officially supporting Windows 7 on the newest platforms as well. 'Official' is a general term: some special customers may receive extended lifetime support, or drivers currently out in the ecosystem still work on the platforms. Official support refers to driver updates and perhaps security updates, but there’s nothing to stop you trying to install an OS to either system or platform.
For clarification, we did not converse with AMD in writing this piece. AMD's formal position on Windows 7 on Ryzen is that it is unsupported, and as a result this means they will not provide support around it. There may also be other methods to install an unsupported OS, however here are a few solutions.
The Main Issue: USB Support
For installing Windows 7, the issues typically revolve around USB support. When there’s a mouse/keyboard plugged in, everything else after that is typically simple to configure (installing drivers, etc). However, from the 100-series chipsets on Intel and the AM4 motherboards on AMD, this can be an issue. When the CD or USB stick is being used to install the OS, the image needs USB drivers in order to activate a mouse or keyboard to navigate the install menus. This is the primary process that fails on both platforms and acts as a barrier to installation.
General Solution: Use a PS/2 Keyboard, if the motherboard has a PS/2 port
By default, on most systems, the way to guarantee the presence of a mouse pointer or keyboard activity during installation is to hook up a PS/2 keyboard. I’ve never known an installation to fail to recognize a PS/2 peripheral, so this is often the best bet. However, PS/2 as a connectivity standard is near dead (sometimes new keyboards will offer dual connectivity, like one of my Rosewill mechanical keyboards), with fewer motherboards supporting it, and it falls to USB as a backup.
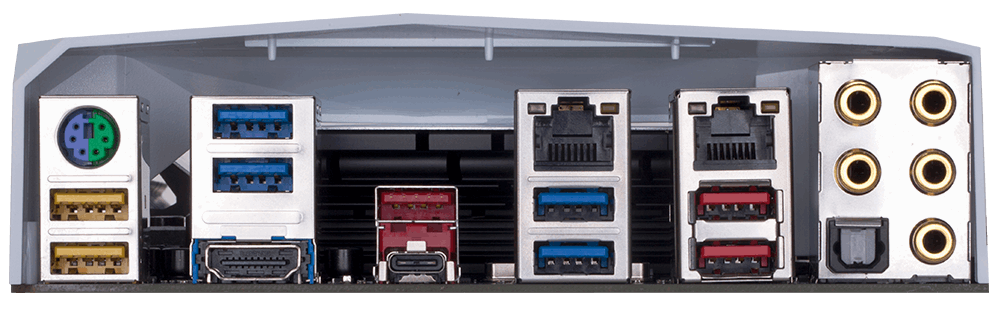
GIGABYTE AX370 Gaming 5 with a PS/2 Port
The main reason why PS/2 should work where USB doesn’t is due to the protocol. PS/2 uses interrupts through the system, compared to USB which is based on polling. This results in different levels of engagement: the PS/2 keyboard injects its commands, but this means limited n-key rollover support, whereas a USB keyboard will bundle its commands up and send it over when the system requests it. Unfortunately, the latter requires a default driver to be able to do this.
(As a general rule, always use USB 2.0 ports. These are most likely to be natively supported over USB 3.0 which can require chipset drivers.)
The problems facing users wishing to install Windows 7 who do not have a PS/2 port or peripherals come in two forms:
Problem 1: Installing Windows 7
With Intel on the Z170 series and above, it was a case of the USB 2.0 needing to be emulated through a BIOS option in order to install Windows 7, due to the EHCI support being removed. After a couple of weeks when motherboard manufacturers started rolling out BIOS/EFI updates to each of their products and enabling the option allowed users to have a keyboard during a standard install.
However, from personal experience, this only really worked when installing Window 7 from a CD, never from a USB stick. Somehow using a data-based USB stick would nullify having a mouse/keyboard via USB in the installation.
With AMD, it gets a little tricky. There is no EHCI emulation. But apparently this comes down to where the USB ports come from.
Potential Install Solution 1.1: Use a Chipset USB 2.0 Port
According to some documents obtained by AnandTech, the AMD BIOS treats USB ports from the CPU (because the CPU is a SoC) and USB ports from the 300-series chipset differently. From what we’ve seen, USB support is enabled on the chipset ports, but not on the CPU-based ports. Ryzen is a little different to previous desktop platforms because it can have USB ports from both. For example, here’s a CPU layout from Bristol Ridge and the B350 chipset, each showing USB ports.

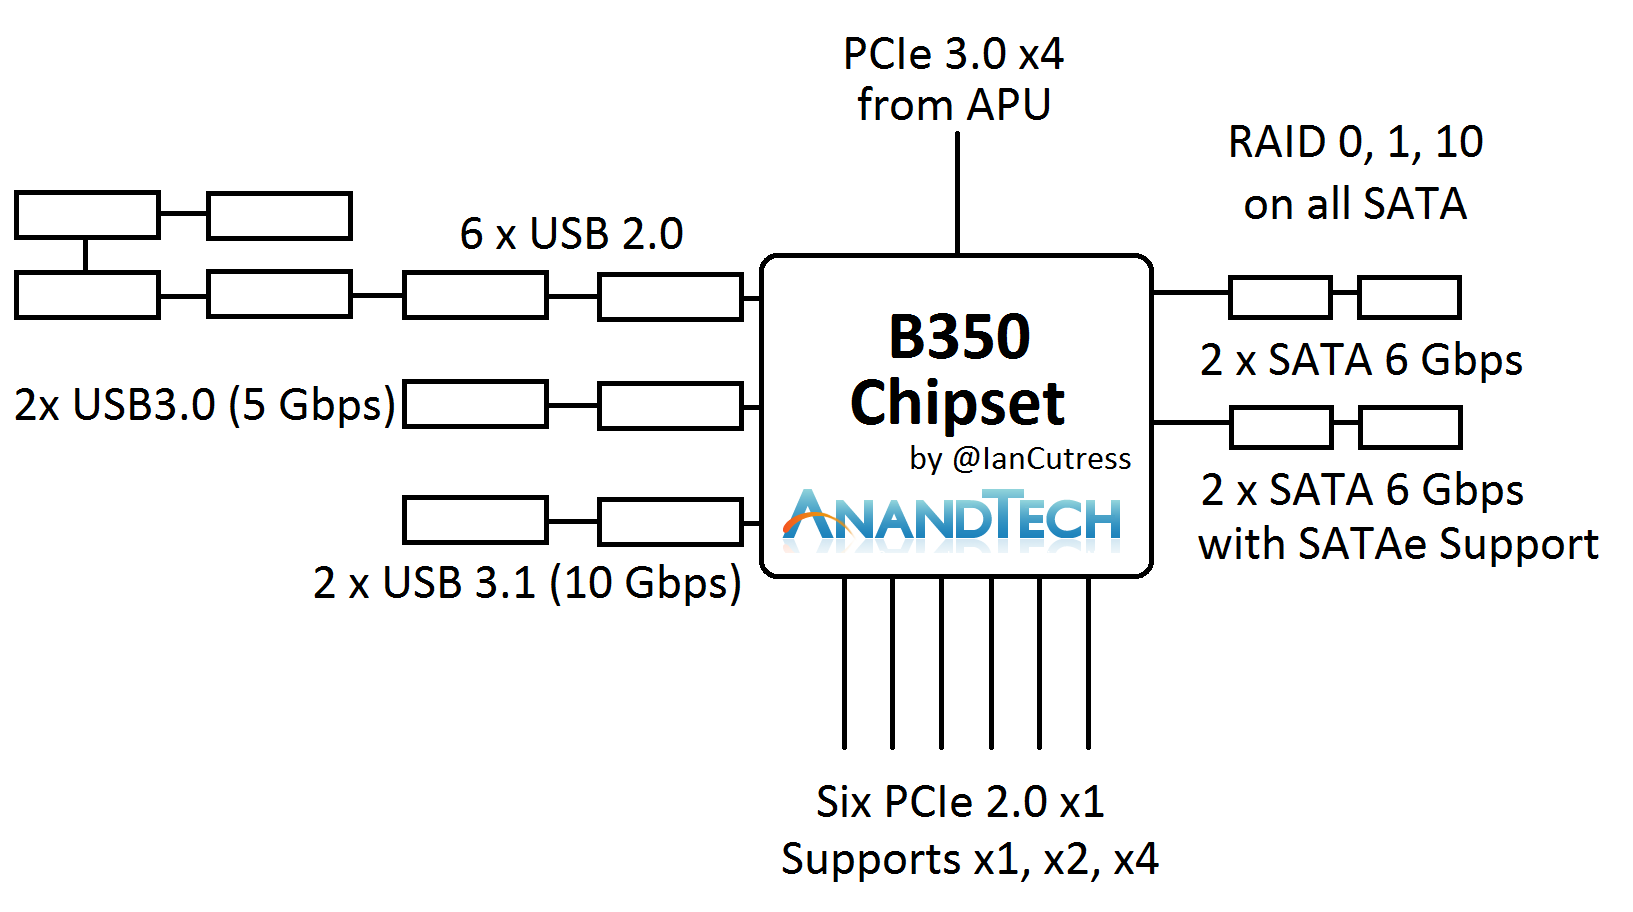
The USB ports from the chipset are supposed to be natively supported in Windows 7 installation, allowing users to have access during either an OS install via USB or via a CD. But finding which ports on your device are supported via the chipset rather than the CPU can be tricky, especially if the motherboard manufacturer does not provide a block diagram of the onboard pathways and controllers. There’s also the fact that the onboard headers might be the ones based on the chipset, requiring header-to-port cabling to use.
However, on my Crosshair VI Hero, this method as described in the documents, did not work. It may work on other boards, but not here.
Even if it did work, there may be a larger problem when it comes to accessing the OS, as explained further down.
Potential Install Solution 1.2: Use an Unattended Windows 7 Install
For users that customize their operating system packages, using tools available online, an unattended install usually covers this whole scenario. By being unattended, as long as no additional input is needed, it should sail straight through. Of course, this method usually means that the drive you want to use is ready to be used (with appropriate settings and partitioning). Power users familiar with this method will be comfortable here.
Potential Install Solution 1.3: Install Windows 7 on a Different System First
In our initial Ryzen review, in order to get SYSMark numbers comparable to the ones in our database, this is the method I had to use. In order to do so, we had to bend one of our more steadfast rules.
As a general thing to note, installing a Windows-based OS on one system and transferring the drive to another system is a bad idea. As part of the installation, Windows will detect what system is being used and install the base drivers for that system, for that CPU, and for that chipset. This provides clutter and confusion when moving the drive to another system, which is why we typically suggest that a new system gets a fresh OS install to help with this. While it’s still a bad idea, a fresh operating system is easier to manage than a fully-laden, well-used OS.
So for this method for our review, due to the timing of events, I had access to a Sandy Bridge system. I did a base install of Windows 7 x64 Professional using a USB stick on the Z77 motherboard with an R7 240 graphics card, and when the OS was loaded, did not install any extra drivers.
But, there lies a second issue.
Problem 2: USB Drivers on Windows 7
The 300-series based chipsets are identical to those offered by Bristol Ridge, and in part based on the Carrizo hardware, and as a result the Windows 7 drivers for these platforms work with AM4 for the main chipset support. Audio and Network drivers are a slightly different kettle of fish, and you may have to go hunting for the Windows 7 variants of these.
If you installed Windows 7 via a PS/2 keyboard and mouse, the OS should have access to the hardware and installing drivers should be easy.
The drivers that worked on launch day are the Crimson ReLive 17.2.1 Chipset Drivers, dated March 3rd. The following links are for the 64-bit versions.
- Most Up-to-Date: http://support.amd.com/en-us/download/chipset?os=Windows+10+-+64
- Previous Versions: http://support.amd.com/en-us/download/chipset/previous?os=Windows%2010%20-%2064
However, the USB fall back methods of 1.2 and 1.3 above do not account for actually having USB drivers in Windows 7 for Ryzen. Windows 7 may apply some base driver, which will allow users to access the hardware, but this is not guaranteed. There is a sure-fire method for doing this.
Windows 7 USB Driver Install 2.1: Integrate Drivers In The Unattended Install
For a power user that is familiar with adding installation packages or driver packages to their OS images, the following drivers extracted from the files above need to be:
- USB30_ZP\
- USB31_PT\
Rope this into your OS image and the USB ports will work. Otherwise...
Windows 7 USB Driver Install 2.2: Set Drivers To Install at Boot
This is the method I used to install the drivers. The basic premise is for the OS to install the drivers when the OS loads. All these actions need to take place on the secondary system that Windows 7 was installed on, aside from the last couple of instructions.
(Step 1) Download the ReLive 17.2.1 Chipset Drivers from the links above.
(Step 2) Run the Installer, but only to the point where it extracts the files and the Radeon screen comes up:
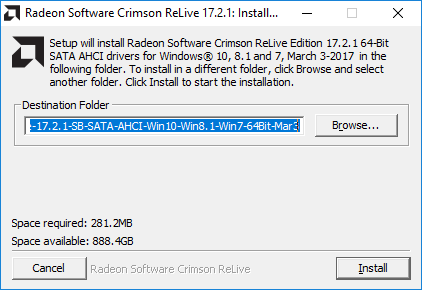
When this happens, go to where the drivers were extracted to, usually C:\AMD. Make a copy of this directory, wherever you need it to go, and exit the installer. The installer usually removes the original copy, and you can place it back into C:\AMD.
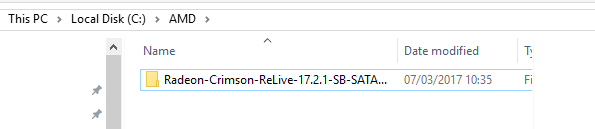
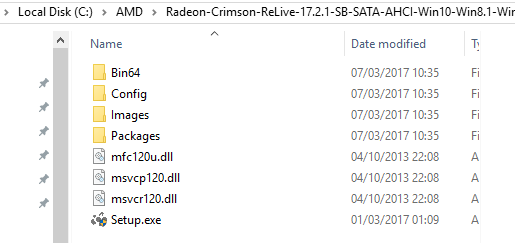
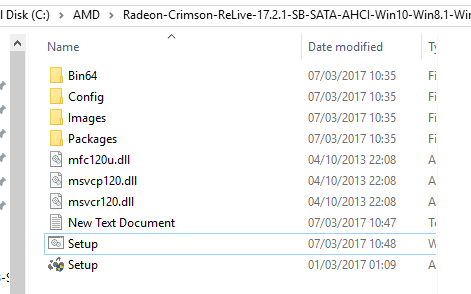
(Step 3) Go into the Radeon-Crimson-ReLive-17.2.1… directory and you will see the following:
Now right click, and navigate to New -> Text Document:
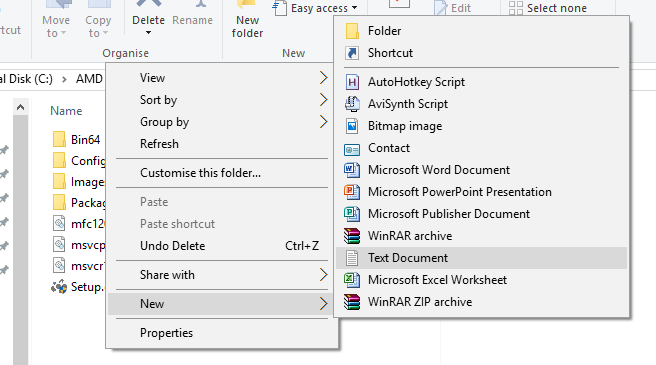
Select this, press enter to accept the default name, and open the file up. You should see an empty notepad file. In this, add the following:
Setup.exe -install
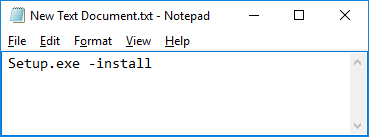
Save this file as ‘setup.bat’ in the same directory. You should see the following now in the setup folder:
If the Setup file has the same icon as New Text Document, then the ‘.bat’ part of the filename did not work. You will need to go through Tools -> Options and enable ‘File Name Extensions’ in order to see the full file name and rename it this way to setup.bat (right click on the file, select rename).
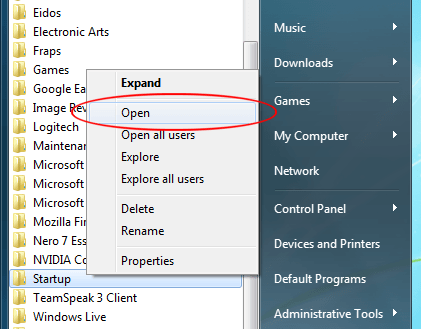
(Step 4) We now need to create a shortcut to this batch file in the Startup directory. From the start menu, go to ‘All Programs’, find the startup folder, right click and select ‘Open’.
It should offer an empty directory. Right-click, and select New -> New Shortcut, and a menu will popup. Select Browse, and navigate to the batch file (in this example, c:\AMD\Radeon-Crimson…).
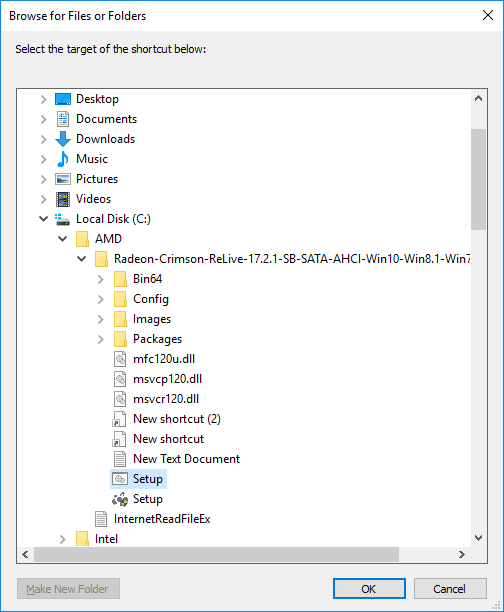
Select OK, the select next, and select finish. You should see the following in the directory:

(Step 5) Shut down the system, and transfer the SSD over to the Ryzen system. Turn it on, and wait a few minutes after the system loads for the drivers to install. At some point, control of the mouse and keyboard will occur.
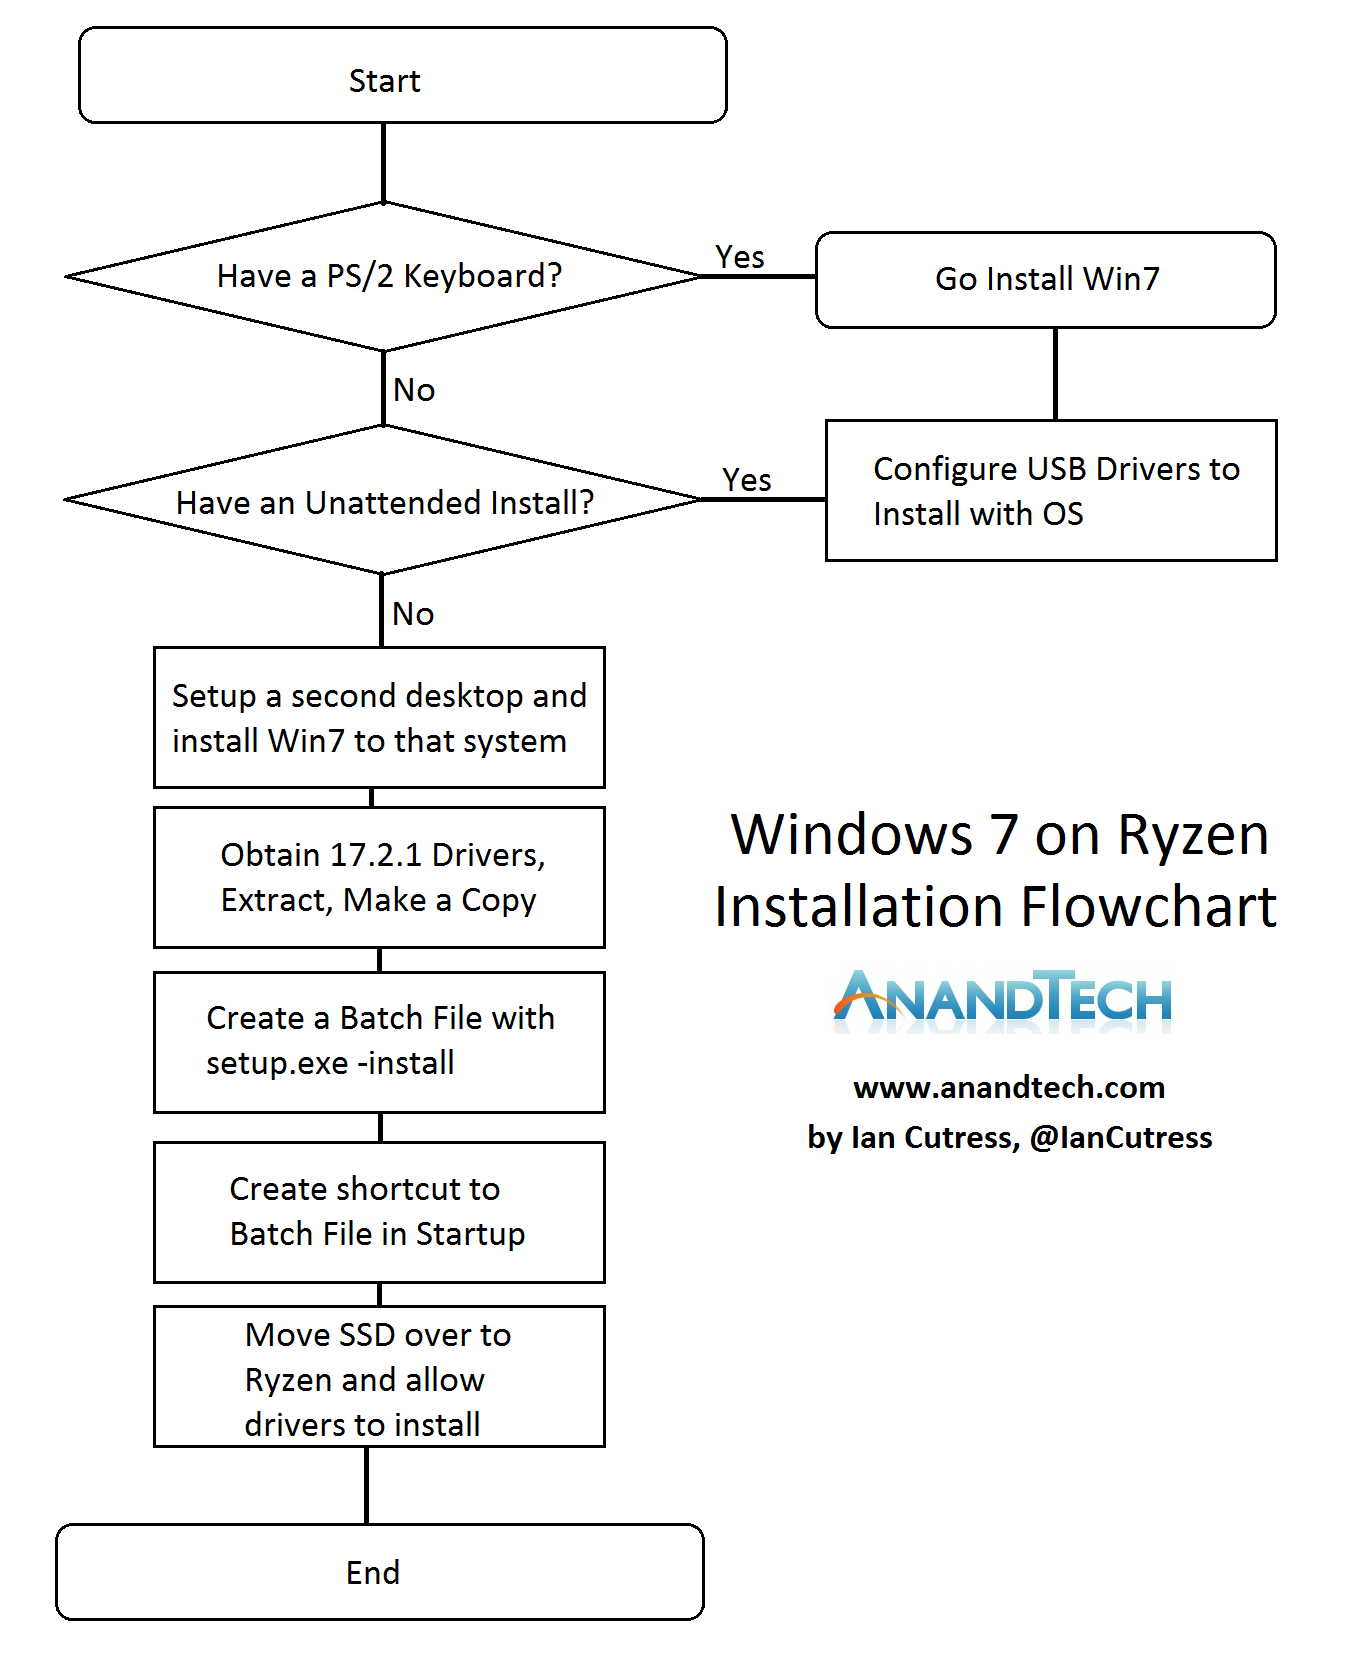
The TL;DR Flow Chart
For some of our power user readers that know how to extract files and create shortcuts, this flow chart might be easier to follow:
Limitations
Arguably this solution could be ported to other circumstances where installing Windows 7 and not having USB is an issue. However, due to our limits in Ryzen testing, we’ve only tested this method, installing Win7 x64 Professional, on the Crosshair VI Hero so far. Other methods may work better as the platform evolves. However, it should still be stated that AMD is not officially supporting Ryzen and the AM4 platform on Windows 7.
Any users with other methods, or success/failure stories, please post below.


104 Comments
View All Comments
A5 - Tuesday, March 7, 2017 - link
"Potential Install Solution 1.2: Use an Unattended Windows 7 Install" is that. The guide assumes that people who already know what DISM is and know how to use don't need the guide.Visual - Tuesday, March 7, 2017 - link
I don't see how slipstreaming some extra drivers is equivalent to "unattended install"...And for people who DON'T already know what DISM is, a less vague mention would be appreciated - especially one pointing out the GUI variant as well.
det_bradlee - Tuesday, March 7, 2017 - link
It's not at all the same. DISM GUI is super easy to use. Afterwards, the install is identical to a standard install.Topweasel - Friday, March 10, 2017 - link
Yeah I was thinking about this as well. Ran into a problem recently with getting an NVME computer setup for Windows 7 at my work and studied DISM for awhile. Now it would be a piece of cake for me to pop a new driver or two in (realistically I would just import all the drivers to make my life easier when it finished).Calis206 - Wednesday, June 20, 2018 - link
Found a video to install Win7 on an nvme ssd:https://youtu.be/LUT0LM2OwYY
Appears like it works on a Ryzen & Kaby Lake board
det_bradlee - Tuesday, March 7, 2017 - link
Inject proper USB3 drivers into boot.wim (both indexes) and install.wim (whatever version index you plan to install - 4 is Ultimate). Copy new WIM's back to flashdrive and install as normal.Problem solved.
DISM GUI is a very simple to use tool to accomplish this.
Ian Cutress - Tuesday, March 7, 2017 - link
+1lefty2 - Tuesday, March 7, 2017 - link
Apparently, there is a good reason to run Windows 7 on Ryzen: It performs much better than Windows 10:https://forums.anandtech.com/threads/ryzen-strictl...
AndrewJacksonZA - Tuesday, March 7, 2017 - link
Totally minor nitpick, Ian:"(because the CPU is an SoC) "
*AN* SoC?
KompuKare - Tuesday, March 7, 2017 - link
Well, some extra nitpicking could be:A SoC (one word rhymes with sock)
An S.o.C (pronounced letter by letter so 'ess o cee' hence the an).